BizCRM App
Step-by-Step Guide: Configuring Chat and Notification Preferences in Message Settings
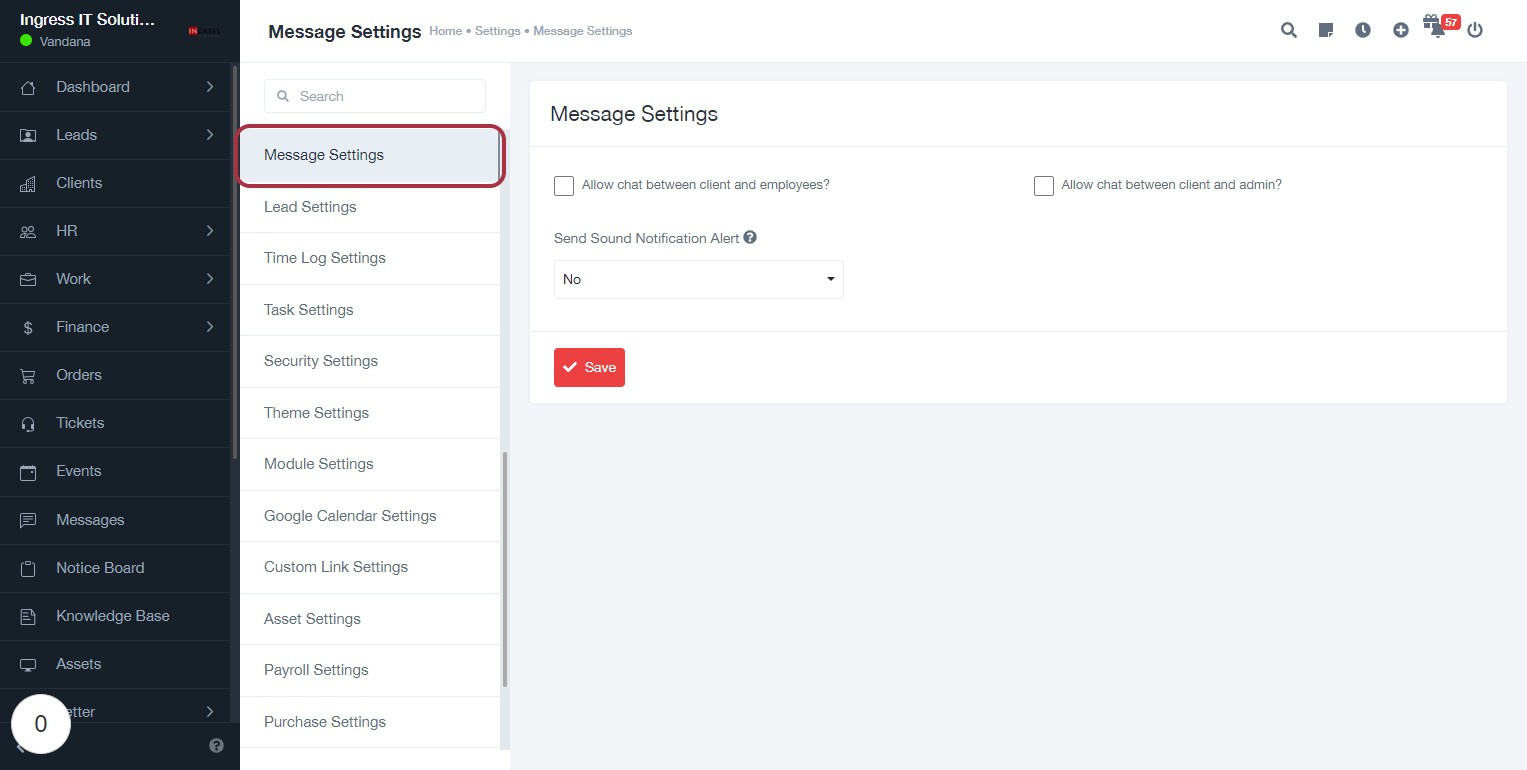
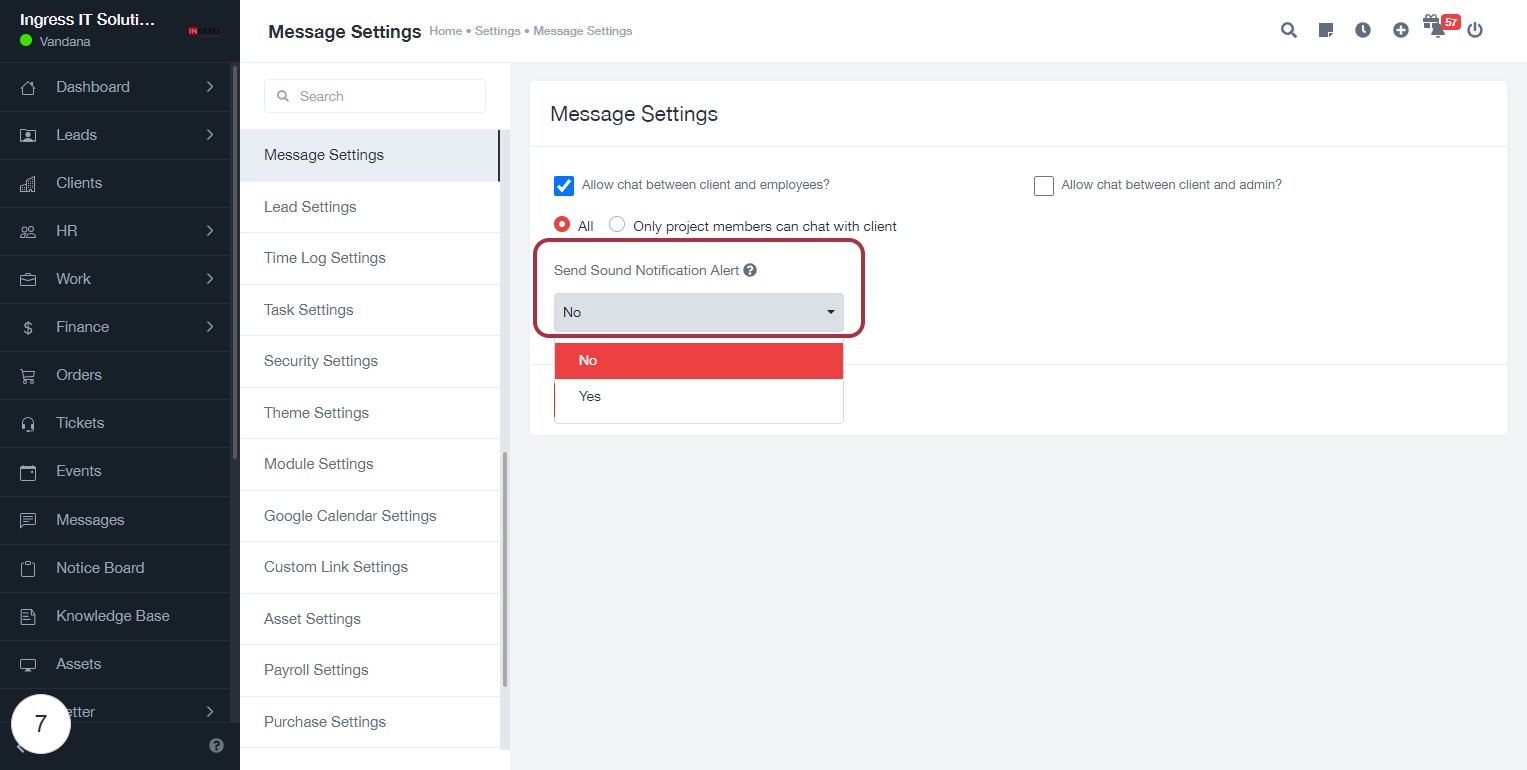
STEP 1: Click on "Message Settings"
- Navigate to the Message Settings section.
- Review the options available:
- Allow chat between client and employees? (Checkbox)
- Allow chat between client and admin? (Checkbox)
- Send Sound Notification Alert (Dropdown: options include "Yes" and "No")
- Ensure to select your preferences before proceeding.
- Click Save to apply your changes.
- Next, click on Allow chat between client and employees? to continue.
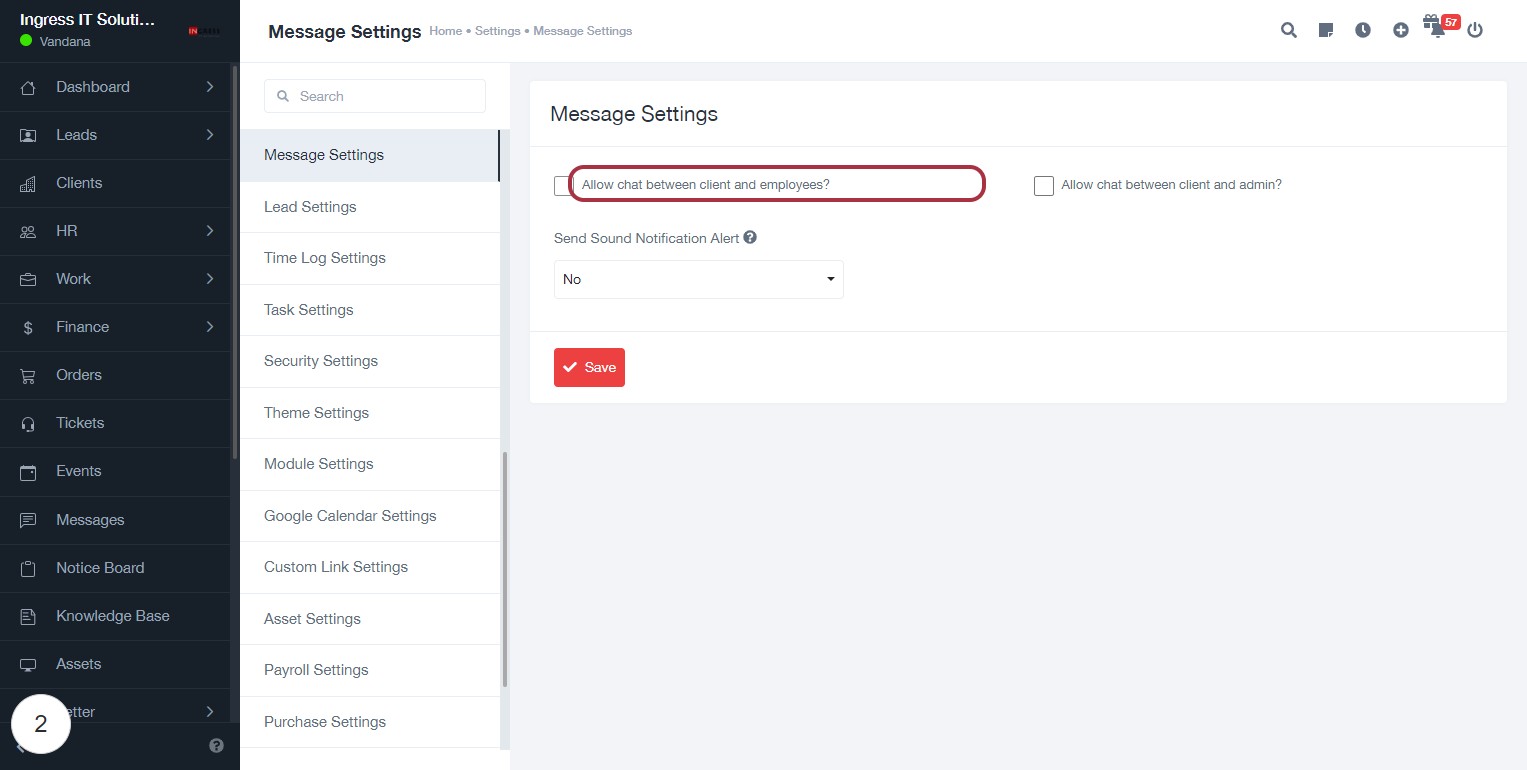
STEP 3: Click on "Allow chat between client and employees?"
- Locate the checkbox labeled "Allow chat between client and employees?" in the Message Settings section.
- Click on the checkbox to enable or disable the chat feature.
- Ensure that any additional settings, such as "Send Sound Notification Alert," are configured as desired.
- After making your selection, remember to click the "Save" button to apply the changes.
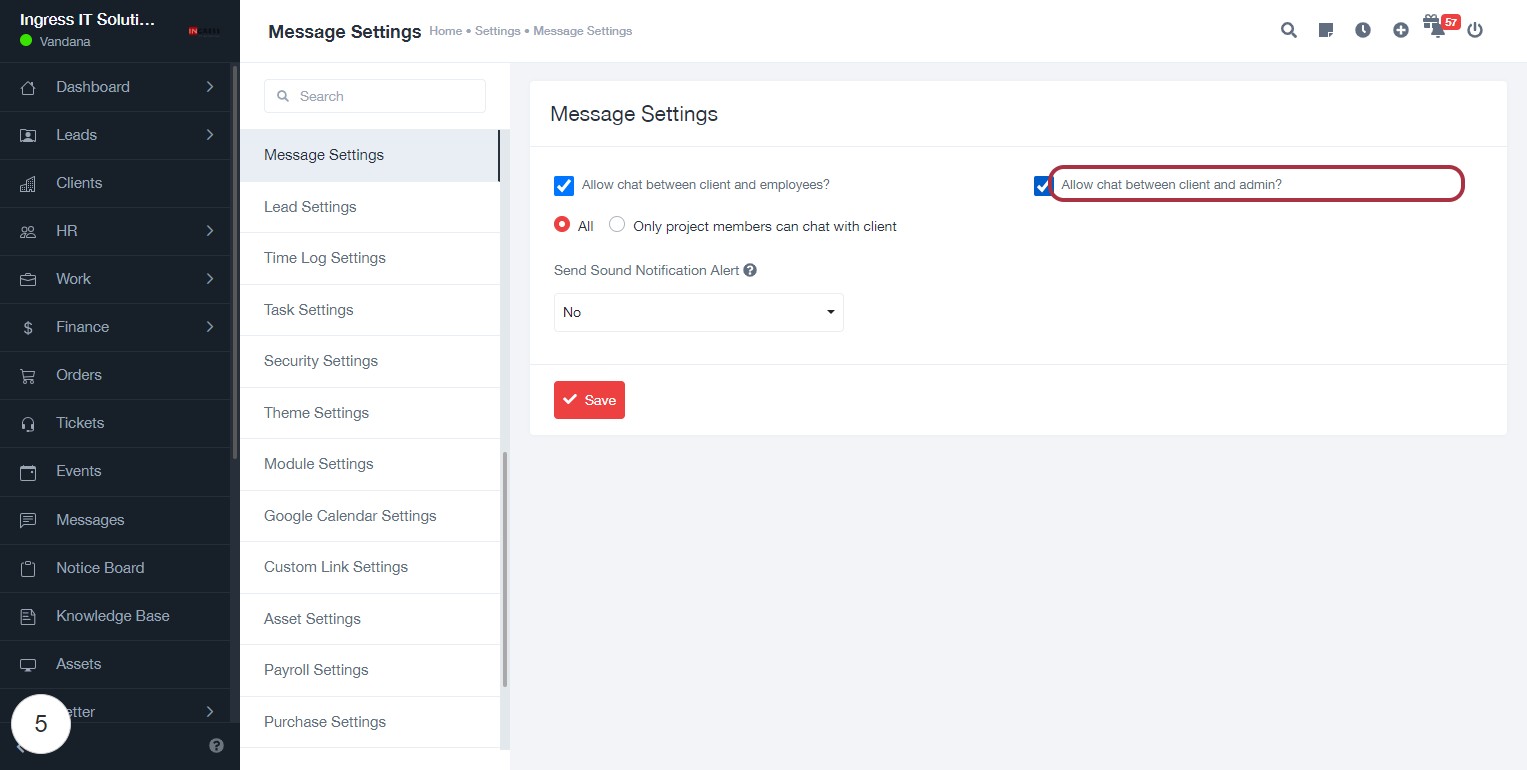
STEP 6: Click on "Allow chat between client and admin?"
- Navigate to the Message Settings section.
- Locate the option Allow chat between client and admin?.
- Click on the checkbox to enable or disable this setting.
- Ensure that you review the options below:
- All: Allows all users to chat with the client.
- Only project members can chat with client: Restricts chat to project members only.
- Proceed to the next step by clicking on Send Sound Notification Alert.
STEP 8: Click on "Send Sound Notification Alert"
- Locate the "Send Sound Notification Alert" option in the Message Settings.
- Click on the dropdown menu to select either "No" or "Yes" for sound notifications.
- Ensure your choice aligns with your notification preferences.
- After making your selection, proceed to the next step by clicking on "Save" to apply the changes.
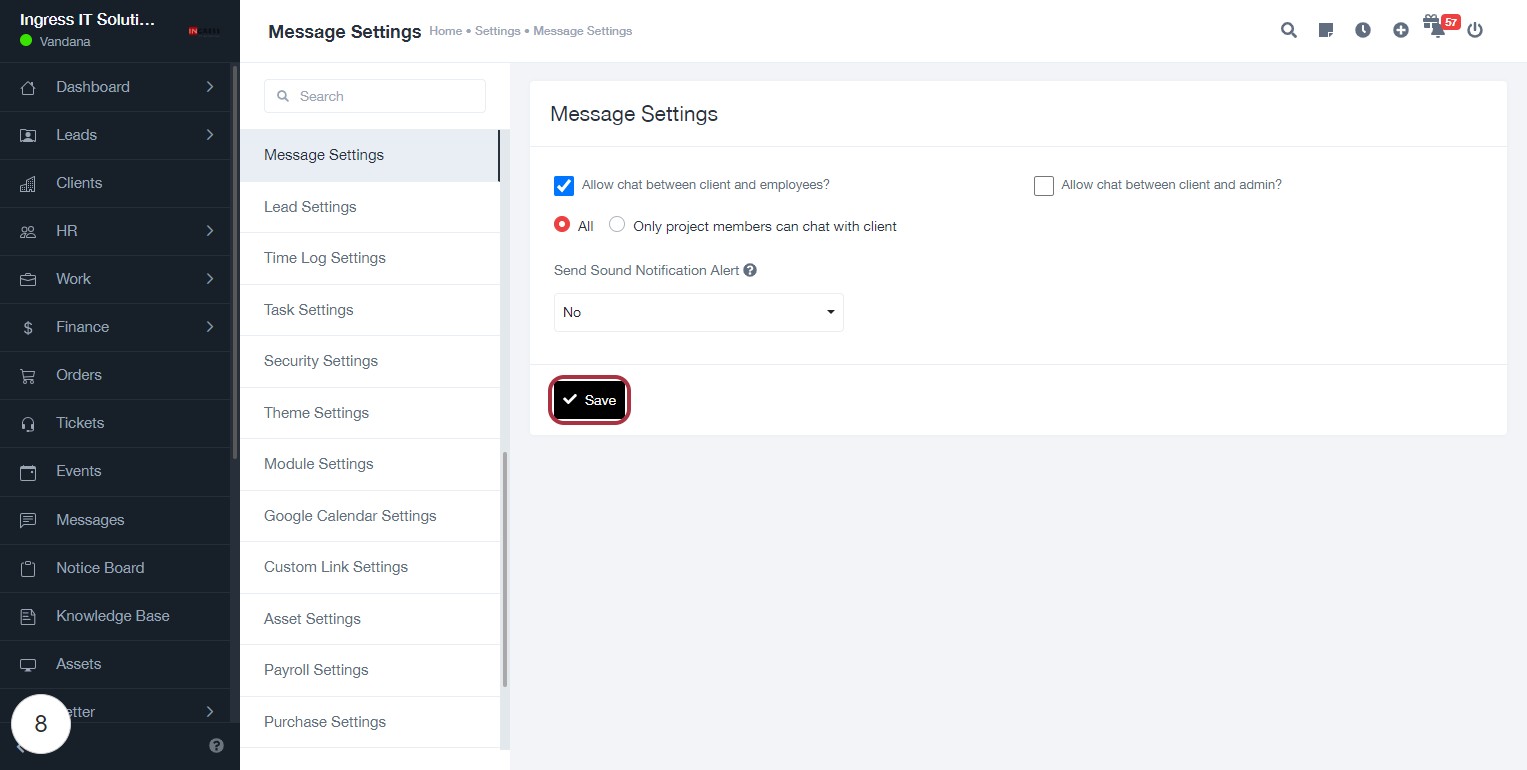
STEP 9: Click on "Save" to Finalize Message Settings
- Ensure all desired settings are configured (e.g., chat permissions, sound notifications).
- Locate the "Save" button highlighted in the interface.
- Click the "Save" button to apply your changes.
- Confirm that a success message appears, indicating your settings have been saved successfully.