BizCRM App
A Comprehensive Guide to Setting Up and Configuring Your Invoice Settings
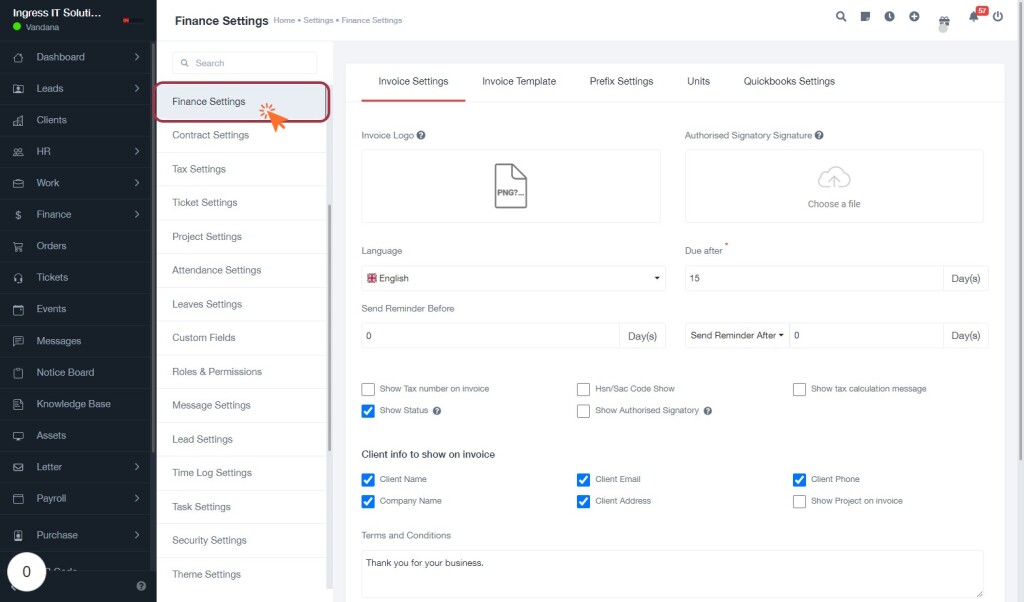
STEP 1: Click on "Finance Settings" to Access Financial Configuration
- Navigate to the Finance Settings section by clicking on it in the sidebar.
- In the Invoice Settings area, you can configure various options:
- Invoice Logo: Upload your company logo.
- Language: Select the preferred language for invoices.
- Due after: Specify the number of days until payment is due (required).
- Send Reminder After: Set the reminder period for payment (optional).
- Client Info: Choose the client details to display on invoices (optional).
- Proceed to the next step by clicking on the Invoice Settings tab.
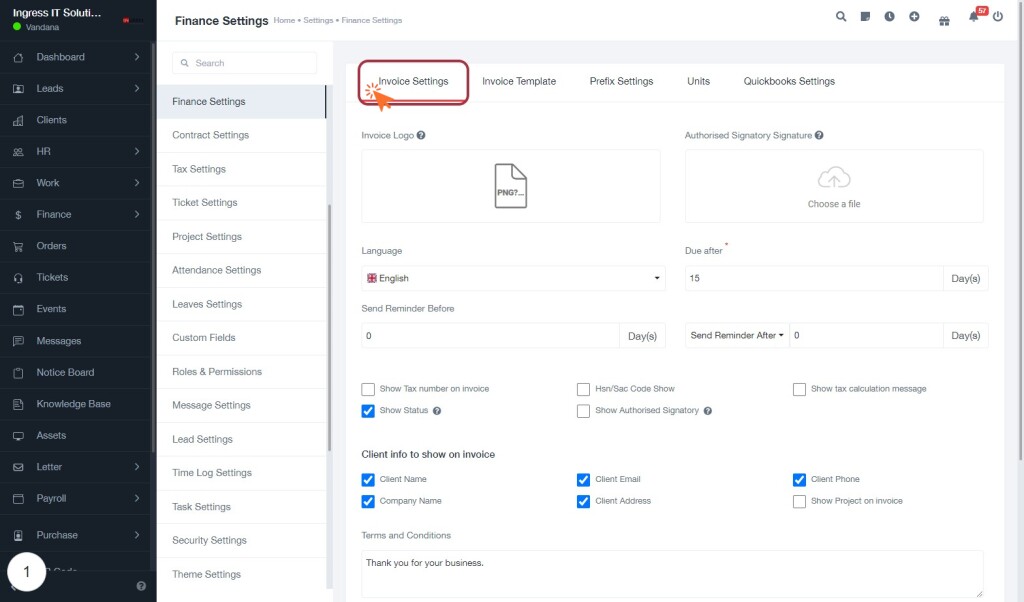
STEP 2: Click on "Invoice Settings" Tab
- Navigate to the Invoice Settings tab to configure your invoice preferences.
- Required Inputs:
- Language: Select your preferred language.
- Due after: Specify the number of days for payment due.
- Send Reminder After: Set the days after which reminders will be sent.
- Optional Inputs:
- Show Tax number on invoice: Check if needed.
- Client Info: Choose which client details to display on the invoice (Email, Address, Phone).
- Proceed to click on Invoice Logo to upload your logo.
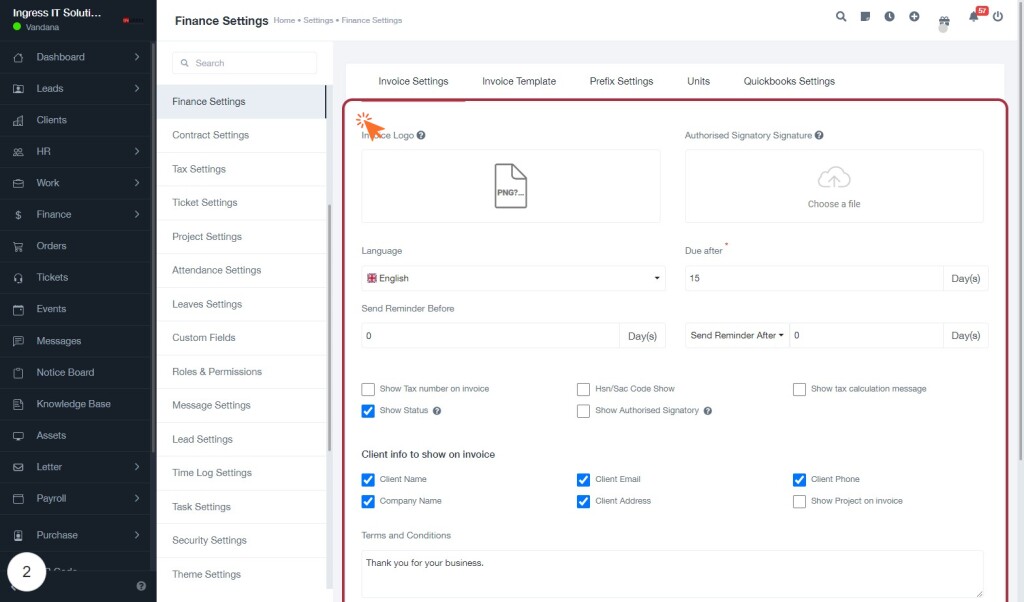
STEP 3: Click on "Invoice Logo" to Upload Your Logo for Invoice
- Locate the Invoice Logo section in the Finance Settings.
- Click on the area marked for uploading your logo.
- A file selection dialog will open; choose your logo file from your device.
- Ensure the logo meets any specified requirements (e.g., format, size).
- After uploading, confirm that the logo appears correctly in the designated area.
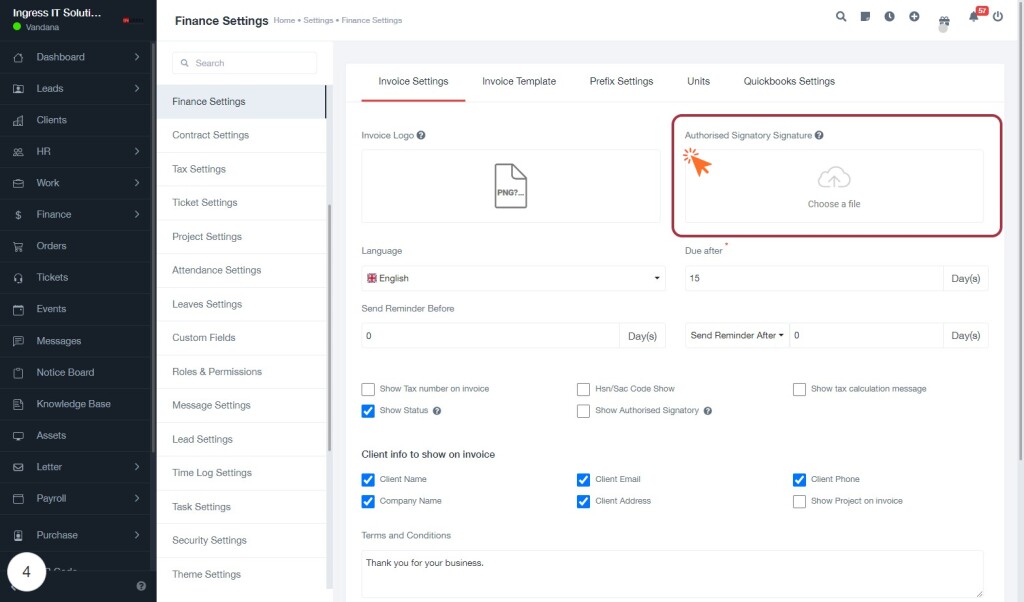
STEP 5: Click on "Authorised Signatory Signature" to Upload Authorized Signature
- Locate the "Authorised Signatory Signature" area highlighted in red.
- Click on the "Choose a file" button to upload the authorized signature.
- Ensure the file selected meets any specified format requirements (if applicable).
- After uploading, verify that the signature appears correctly in the designated area.
- Proceed to the next step by selecting the "Language" option.
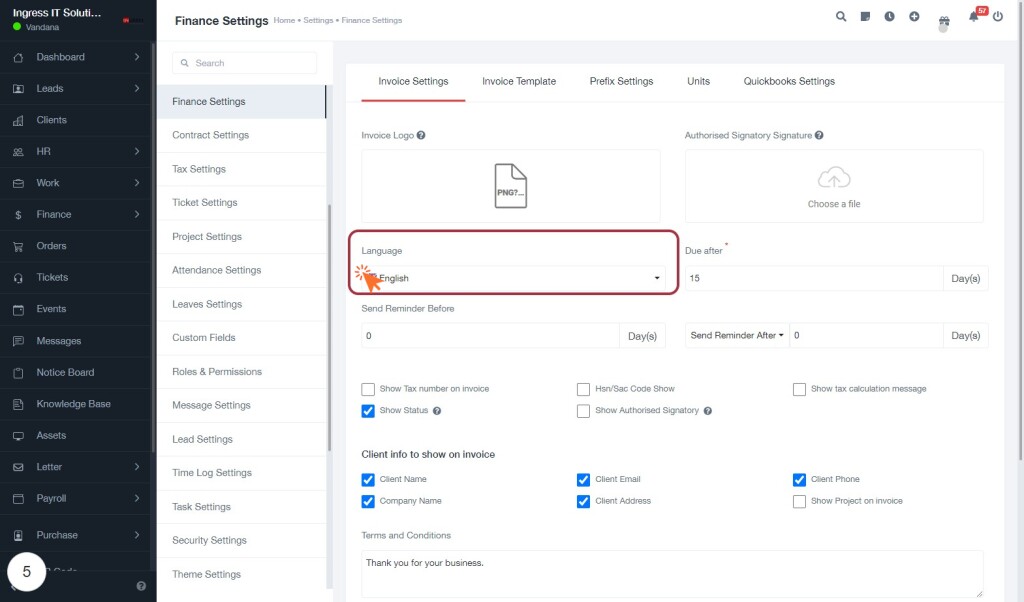
STEP 6: Select "Language" from the Dropdown Menu
- Click on the "Language" dropdown menu highlighted in red.
- Choose your preferred language from the available options (e.g., English).
- Ensure that the selected language aligns with your invoicing requirements.
- Proceed to the next step by entering the "Due after" value, which is marked with an asterisk (*) indicating it is required.
STEP 7: Enter "Due after" Value
- Click on the "Due after" field in the Invoice Settings section.
- Input the number of days for the due date (required field marked with *).
- Ensure the value reflects the desired timeframe for payment.
- Proceed to the next step by entering the "Send Reminder Before" value.

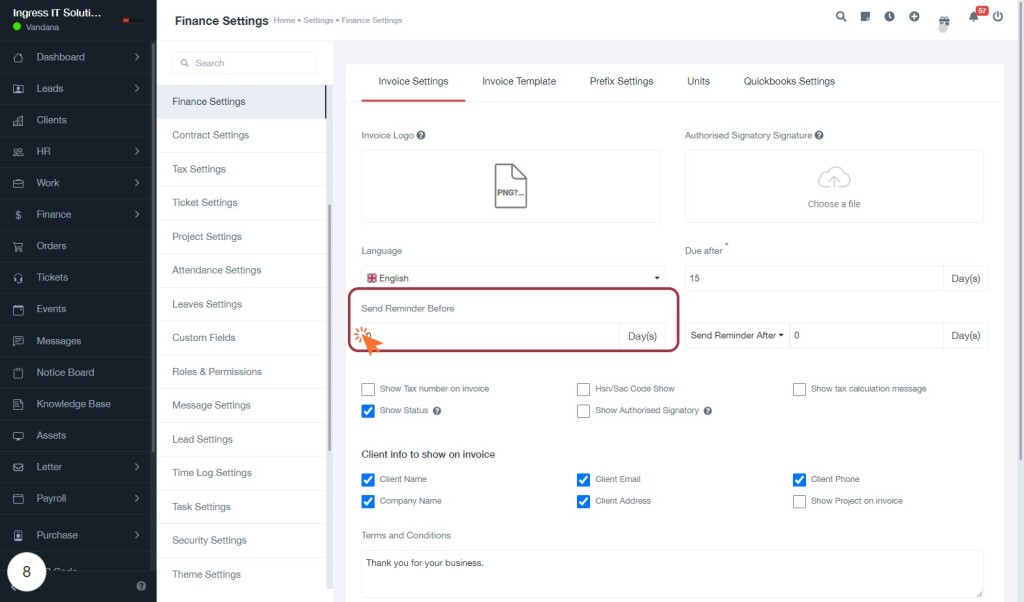
STEP 9: Enter "Send Reminder Before" Value
- Click on the "Send Reminder Before" field highlighted in red.
- Input the desired number of days for the reminder.
- Ensure the field is filled correctly to set up reminder notifications effectively.
- Review any optional fields marked with an asterisk (*) for additional settings.
- Proceed to the next step by selecting "Send Reminder After" to define the duration for reminders.
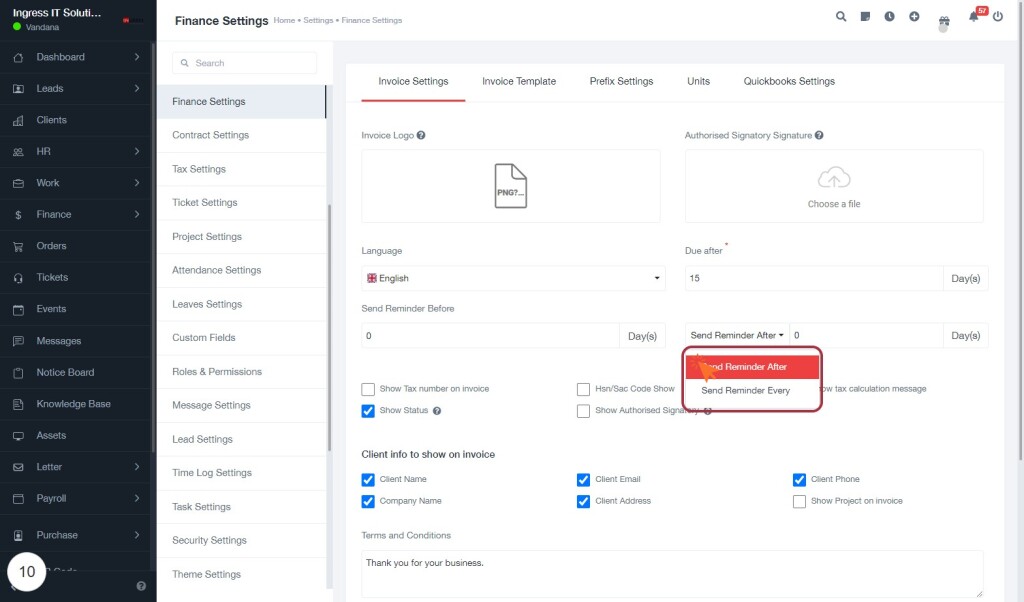
STEP 11: Select "Send Reminder After" to Set Reminder Duration
- Click on the "Send Reminder After" option in the Finance Settings.
- This will allow you to specify the duration after which reminders will be sent.
- Ensure to review the adjacent options, including "Send Reminder Every," to set your preferences accurately.
- After this, proceed to select each checkbox for "Client info to show on invoice" in the next step.
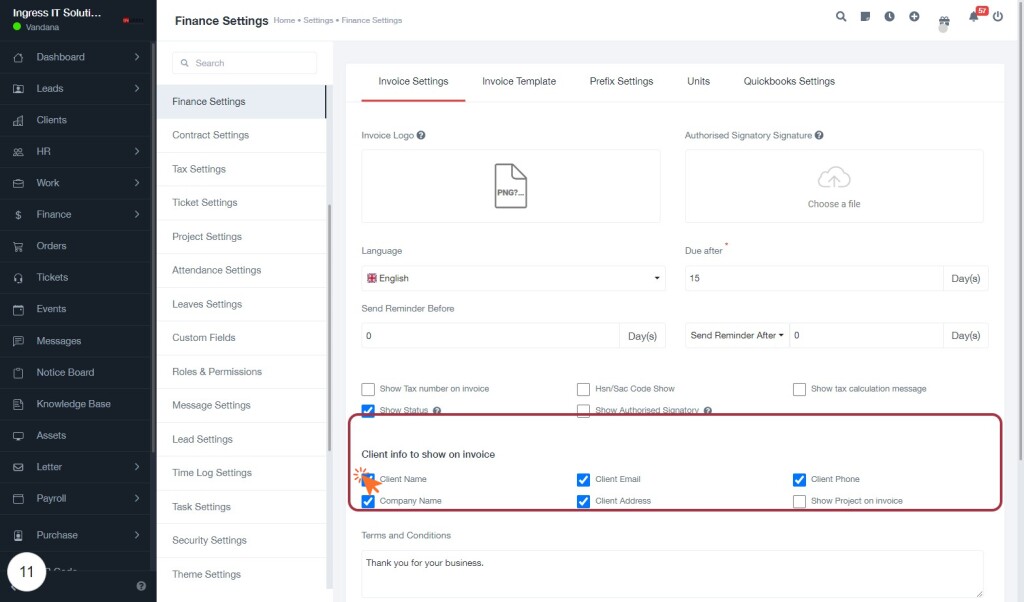
STEP 12: Select Each Checkbox for "Client Info to Show on Invoice"
- Click on each checkbox under "Client info to show on invoice" to select the information you want displayed on the invoice.
- Options include:
- Client Name
- Company Name
- Client Email
- Client Address
- Client Phone
- Show Project on invoice
- Ensure the checkboxes reflect your preferences before proceeding to the next step.
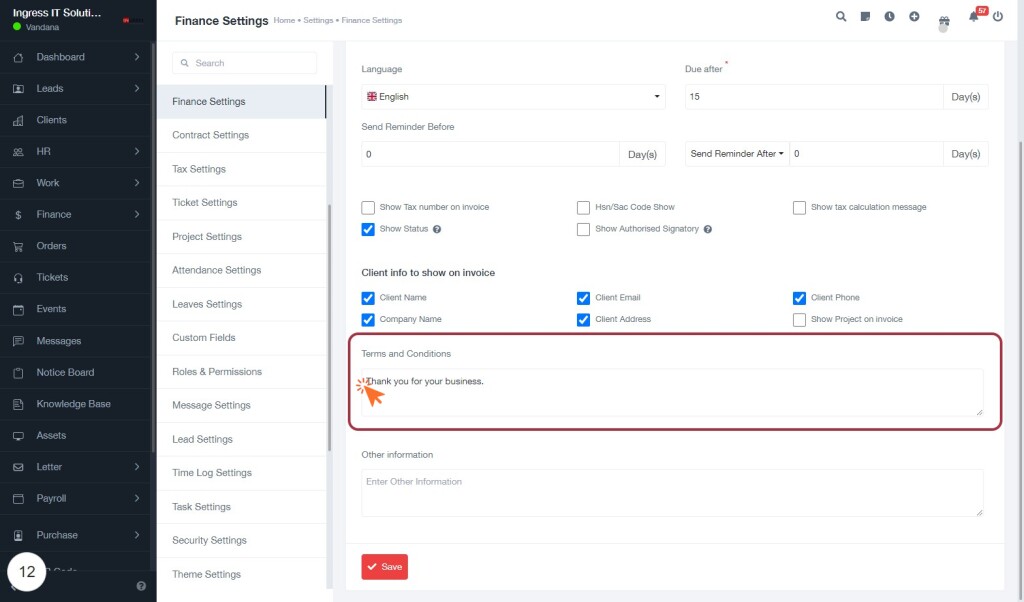
STEP 13: Enter "Terms and Conditions"
- Click on the "Terms and Conditions" section highlighted in red.
- Enter your desired text in the provided text area.
- Ensure that the content is relevant to your business, such as a thank-you note or specific terms.
- Review the text for clarity and professionalism before saving.
- After completing, proceed to the next step by entering "Other information."
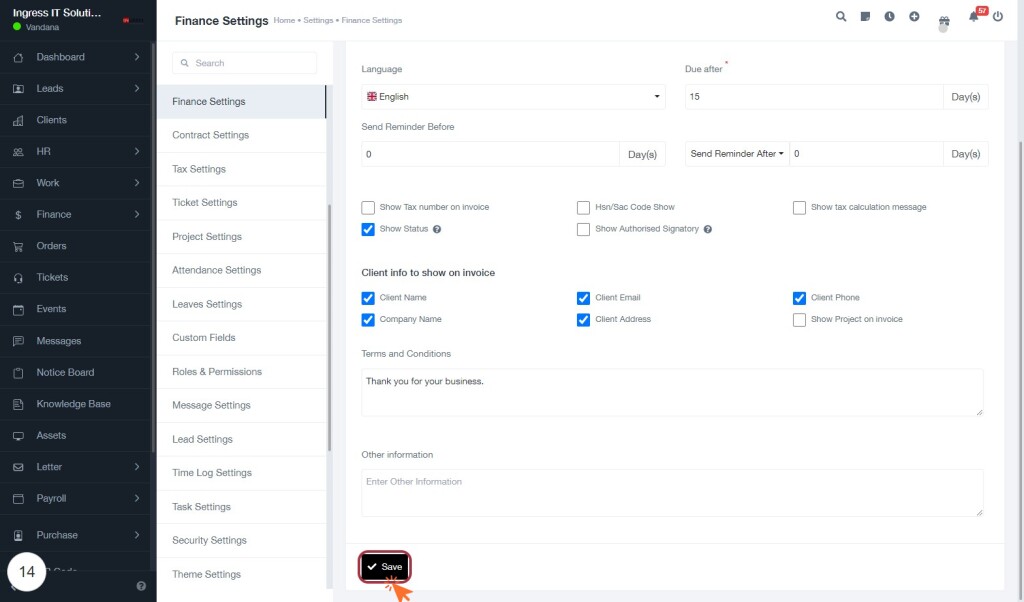
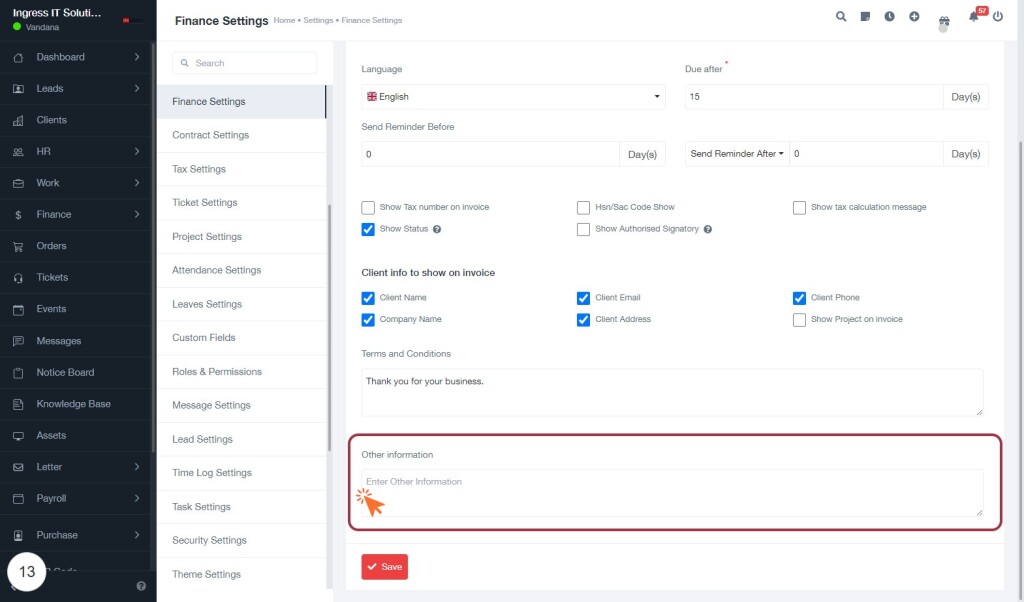
STEP 14: Enter Other Information in Finance Settings
- Click on the Other information field to provide additional details.
- This field allows you to enter any relevant information that may not be covered by other settings.
- Ensure that the information is clear and concise for better understanding.
- After entering the information, proceed to the next step by clicking on Save.
STEP 15: Click on "Save" to Finalize Finance Settings
- Ensure all required fields are filled out, indicated by asterisks (*).
- Review the options selected under "Client info to show on invoice."
- Confirm any additional settings, such as reminder days and tax options.
- Click the Save button at the bottom of the form to apply your changes.
- A confirmation message may appear, indicating successful saving of settings.