BizCRM App
Comprehensive Guide to Managing Your Email, Slack, and Push Notification Settings
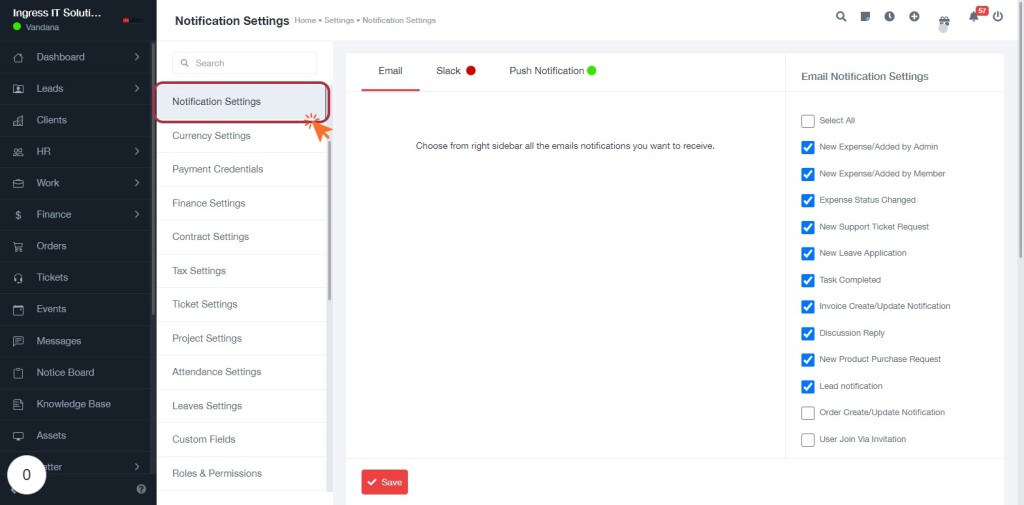
STEP 1: Click on "Notification Settings" to Access Email Notification Preferences
- Navigate to the Notification Settings section from the sidebar menu.
- In the Email Notification Settings area, you can manage your email notifications.
- Options include:
- Select All: Check to receive all notifications.
- Individual notifications like New Expense/Added by Admin, Expense Status Changed, etc.
- Review the list and check or uncheck the notifications you wish to receive.
- After making your selections, remember to Save your changes.
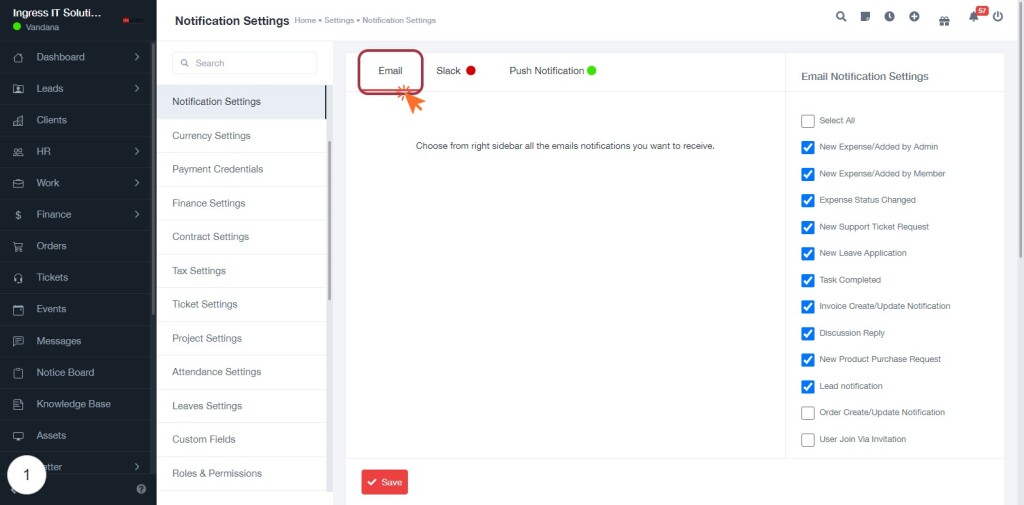
STEP 2: Click on "Email" to Access Email Notification Settings
- Click on the "Email" option in the Notification Settings menu.
- Review the list of email notifications available.
- Check or uncheck the boxes next to the notifications you wish to receive.
- To select all notifications, click on "Select All" at the top of the list.
- Ensure your preferences are set before proceeding to save your changes.
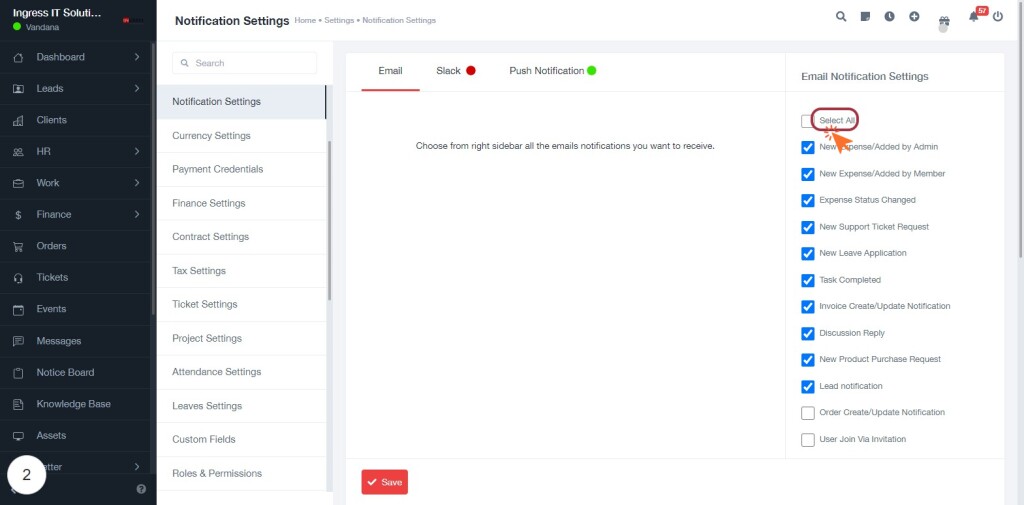
STEP 3: Click on "Select All" or Individual Email Notifications
- Navigate to the Email Notification Settings section.
- Click on Select All to choose all email notifications or select individual notifications as needed.
- Review the list of notifications available for selection, such as:
- New Expense/Added by Admin
- New Expense/Added by Member
- Expense Status Changed
- New Support Ticket Request
- And more options listed.
- Ensure your selections reflect your notification preferences.
- Click Save to apply your changes.
STEP 6: Click on "Slack"
- Navigate to the Notification Settings section.
- Click on the Slack option highlighted in the interface.
- Review the available email notifications on the right side.
- Ensure you select the notifications you want to receive by checking the corresponding boxes.
- After making your selections, proceed to the next step by clicking on Slack Notification Settings.
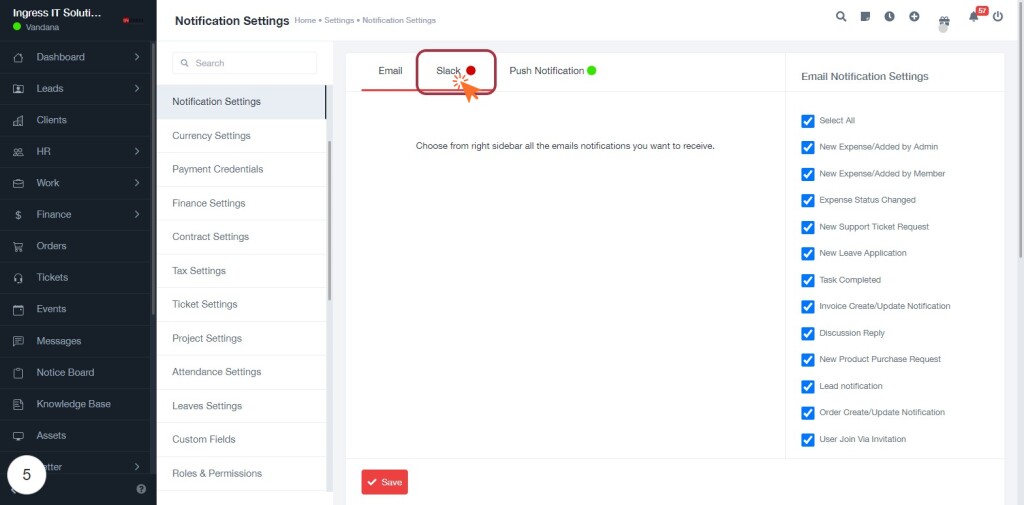
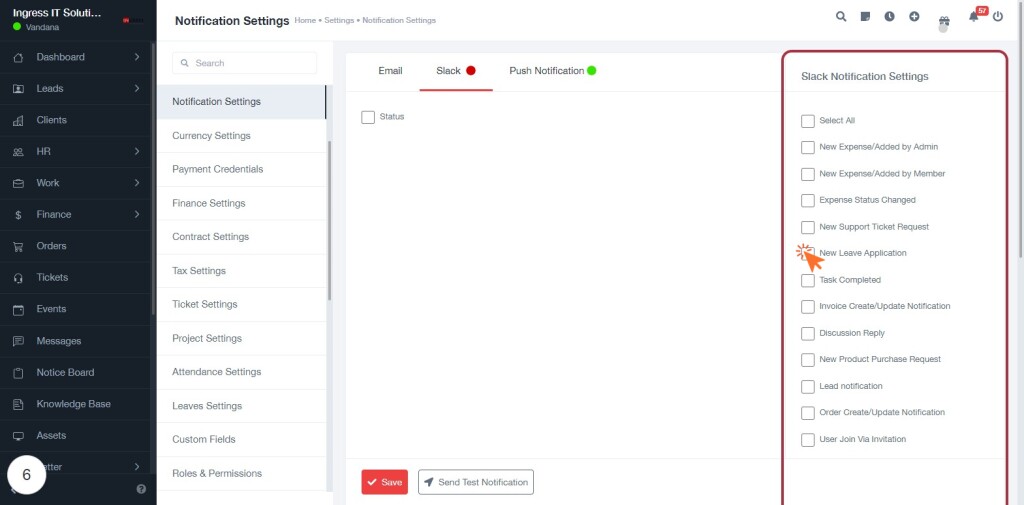
STEP 7: Click on "Slack Notification Settings"
- Navigate to the Slack Notification Settings section.
- You will see a list of notification options:
- Select All
- New Expense/Added by Admin
- New Expense/Added by Member
- Expense Status Changed
- New Support Ticket Request
- New Leave Application
- Task Completed
- Invoice Create/Update Notification
- Discussion Reply
- New Product Purchase Request
- Lead Notification
- Order Create/Update Notification
- User Join Via Invitation
- Check the boxes for the notifications you wish to receive.
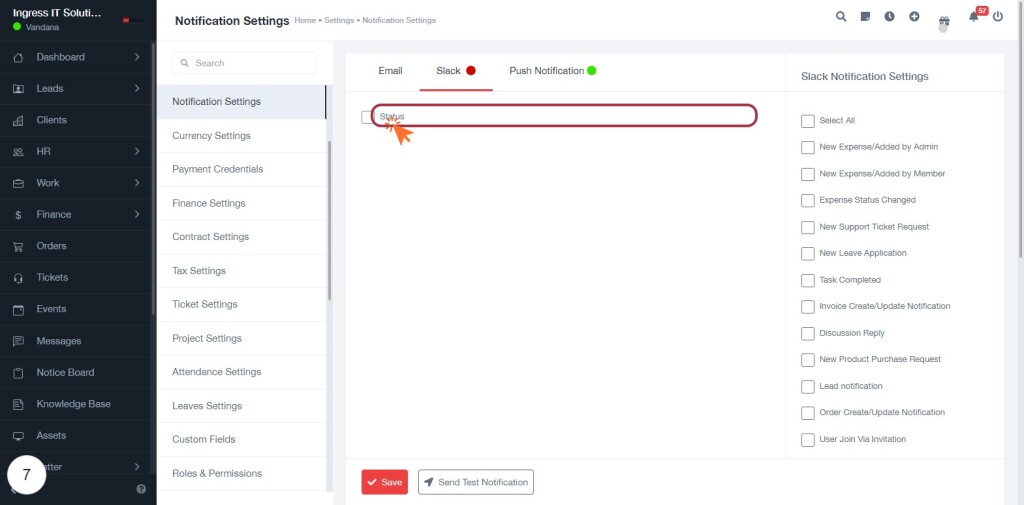
STEP 8: Click on "Status" to Configure Slack Notifications
- Navigate to the Slack Notification Settings section.
- Locate the Status label highlighted in the form.
- Click on the Status field to select the relevant notification options.
- Ensure to check any additional notifications you wish to enable, such as:
- New Expense/Added by Admin
- New Support Ticket Request
- Task Completed
- After making your selections, proceed to the next step by clicking on Slack Webhook.
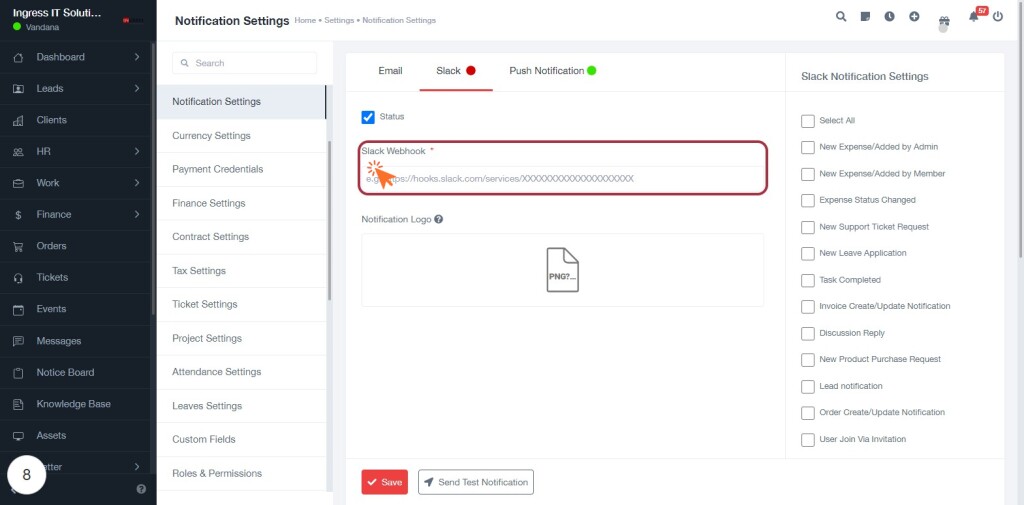
STEP 9: Click on "Slack Webhook *"
- Navigate to the Slack Notification Settings section.
- Locate the Slack Webhook input field, marked with an asterisk (*) indicating it's required.
- Enter the URL for your Slack webhook in the provided field.
- Ensure the URL is correct to facilitate notifications.
- After entering the webhook, proceed to the next step by clicking on Notification Logo.
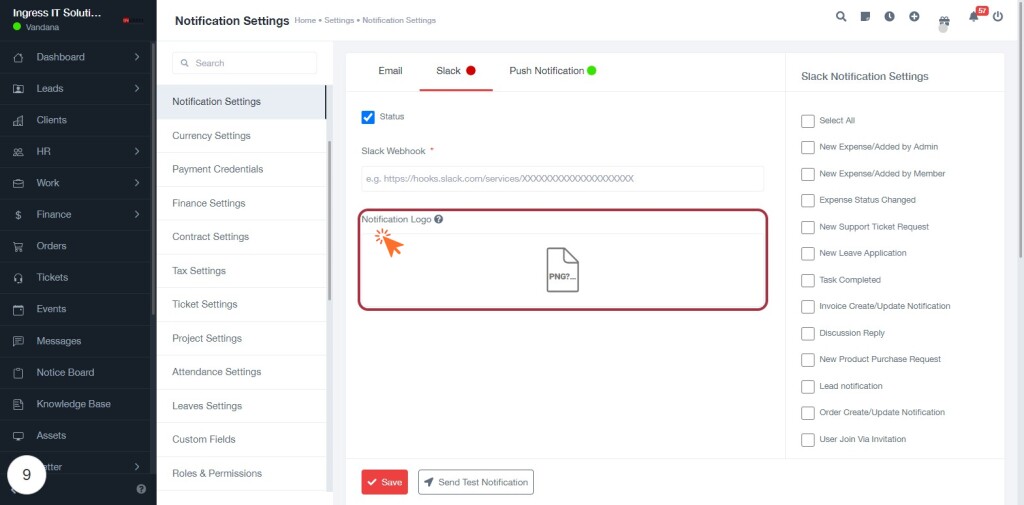
STEP 10: Click on "Notification Logo"
- Navigate to the Notification Settings section.
- Locate the Notification Logo area highlighted in red.
- Click on the Notification Logo to upload or change the logo.
- Ensure the logo meets any specified requirements (e.g., format, size).
- After selecting the logo, review other settings related to Slack notifications.
- Proceed to the next step by clicking on Push Notification.
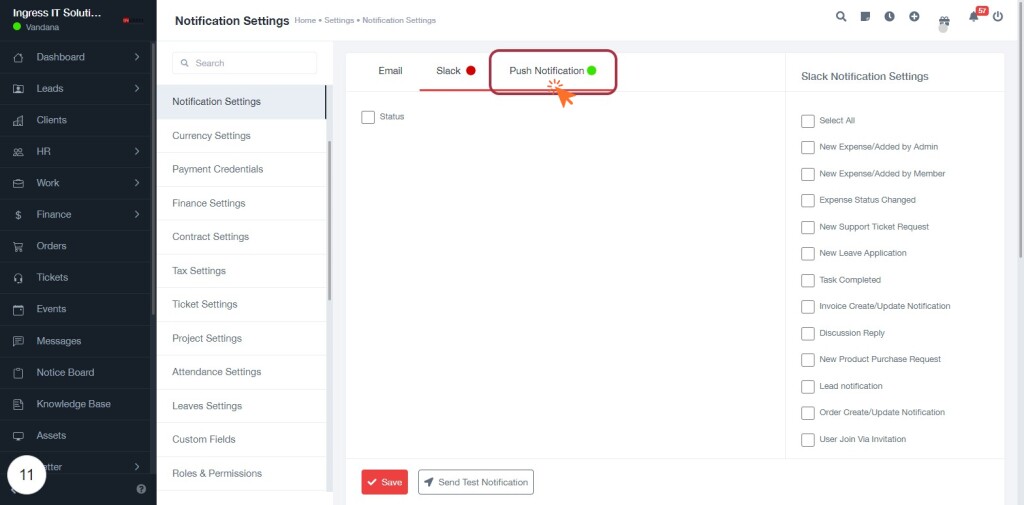
STEP 12: Click on "Push Notification"
- Navigate to the Notification Settings section.
- Locate the Push Notification option highlighted in green.
- Click on Push Notification to access related settings.
- Review the Slack Notification Settings options available.
- Ensure to check or uncheck relevant notifications as needed.
- After adjustments, click Save to apply changes.
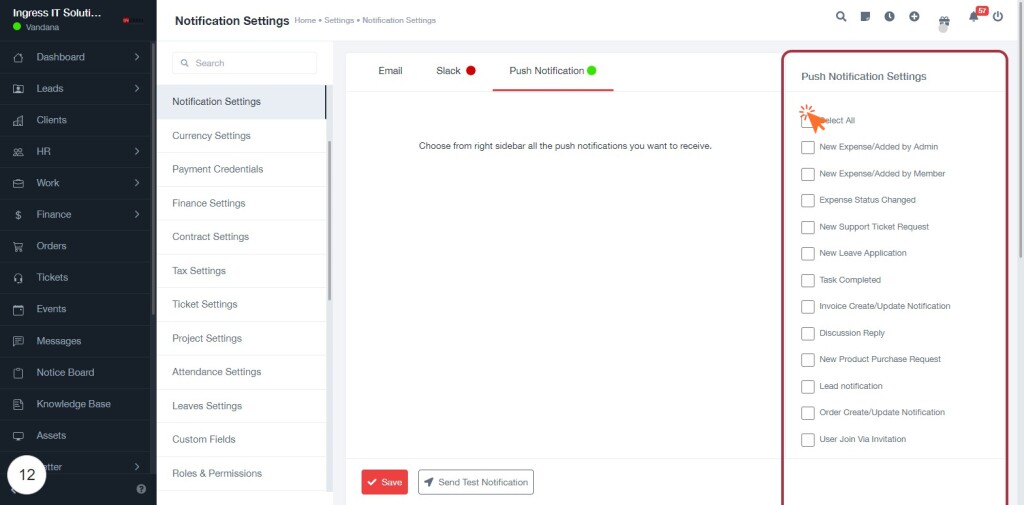
STEP 13: Click on "Push Notification Settings"
- Navigate to the "Push Notification Settings" section.
- Review the available push notifications listed on the right side.
- To select all notifications, click on the "Select All" checkbox at the top.
- You can individually check or uncheck any specific notifications as needed.
- Ensure your selections reflect your preferences for notifications.
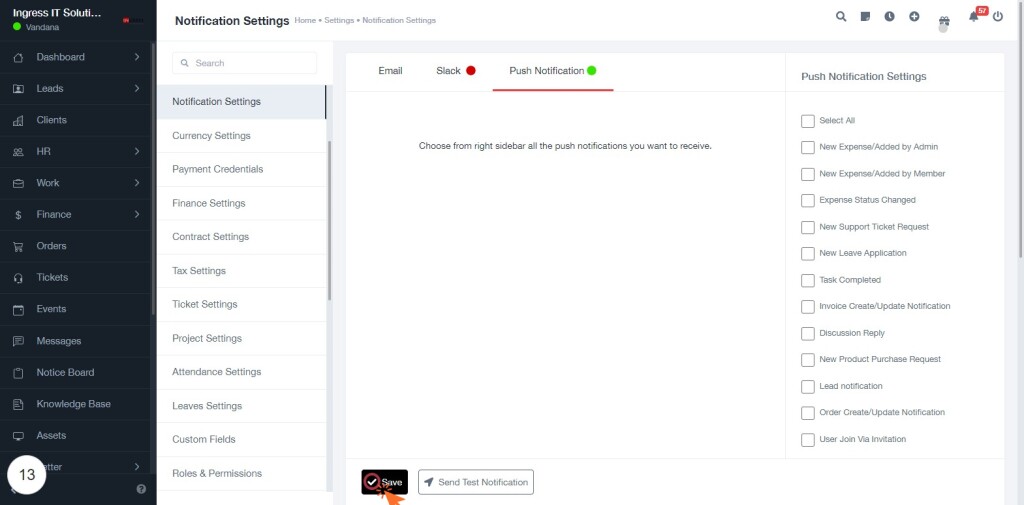
- Proceed to the next step by clicking on "Save" and then "Send Test Notification."
STEP 14: Click on "Save" and then Send Test Notification
- Ensure all desired push notifications are selected from the right sidebar.
- Click on the Save button located at the bottom left of the screen.
- After saving, click on Send Test Notification to verify your settings.
- Review the notifications to confirm they are set as intended.
