BizCRM App
Step-by-Step Guide to Adding a New Asset Type in the Asset Settings
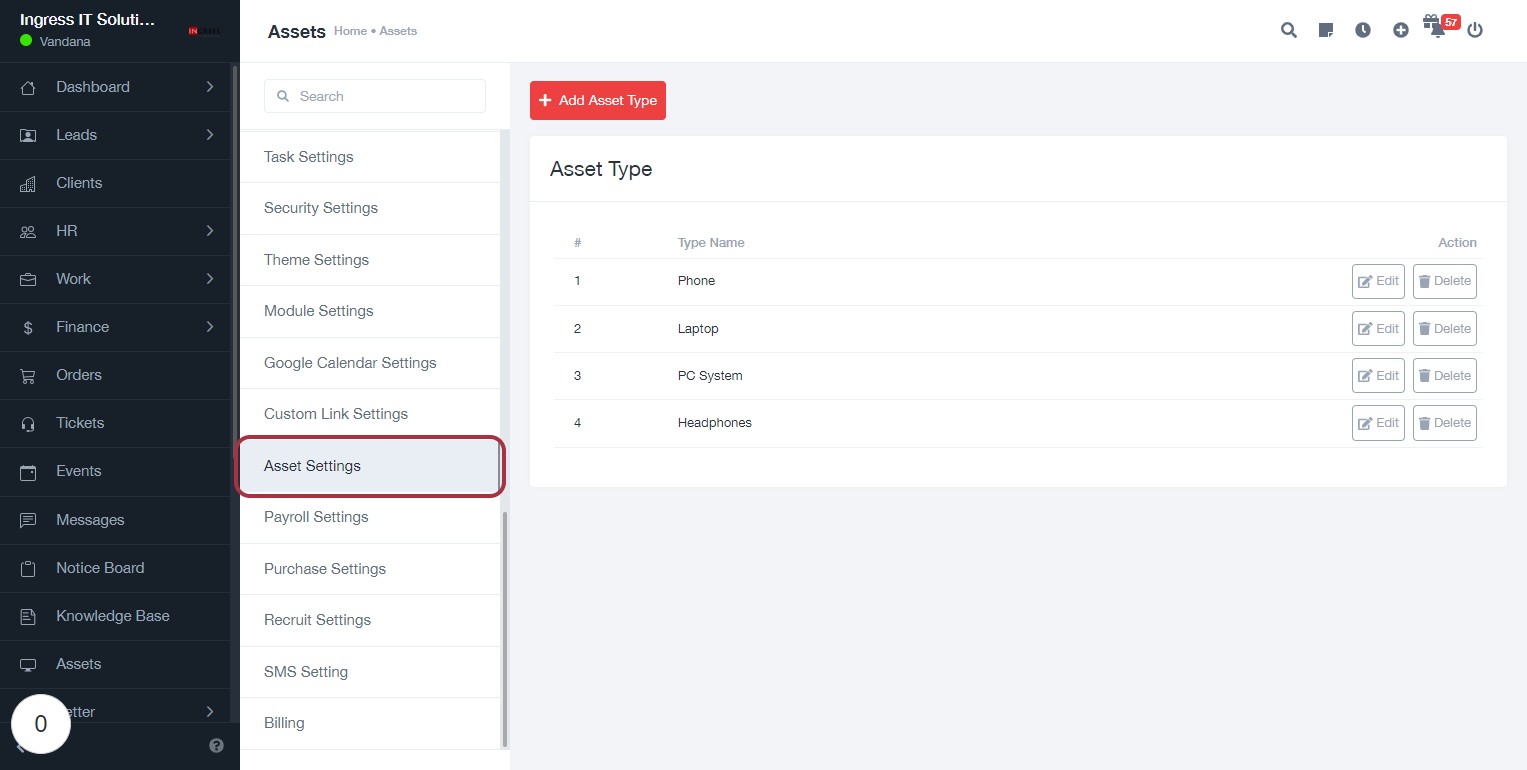
STEP 1: Click on "Asset Settings" to Access Asset Management
- Navigate to the left sidebar and locate the Asset Settings option.
- Click on Asset Settings to view the existing asset types.
- The main area displays a table with the following headings:
- #: Identifier for each asset type.
- Type Name: Name of the asset (e.g., Phone, Laptop).
- Action: Options to Edit or Delete each asset type.
- Prepare to proceed to the next step by clicking on Add Asset Type.

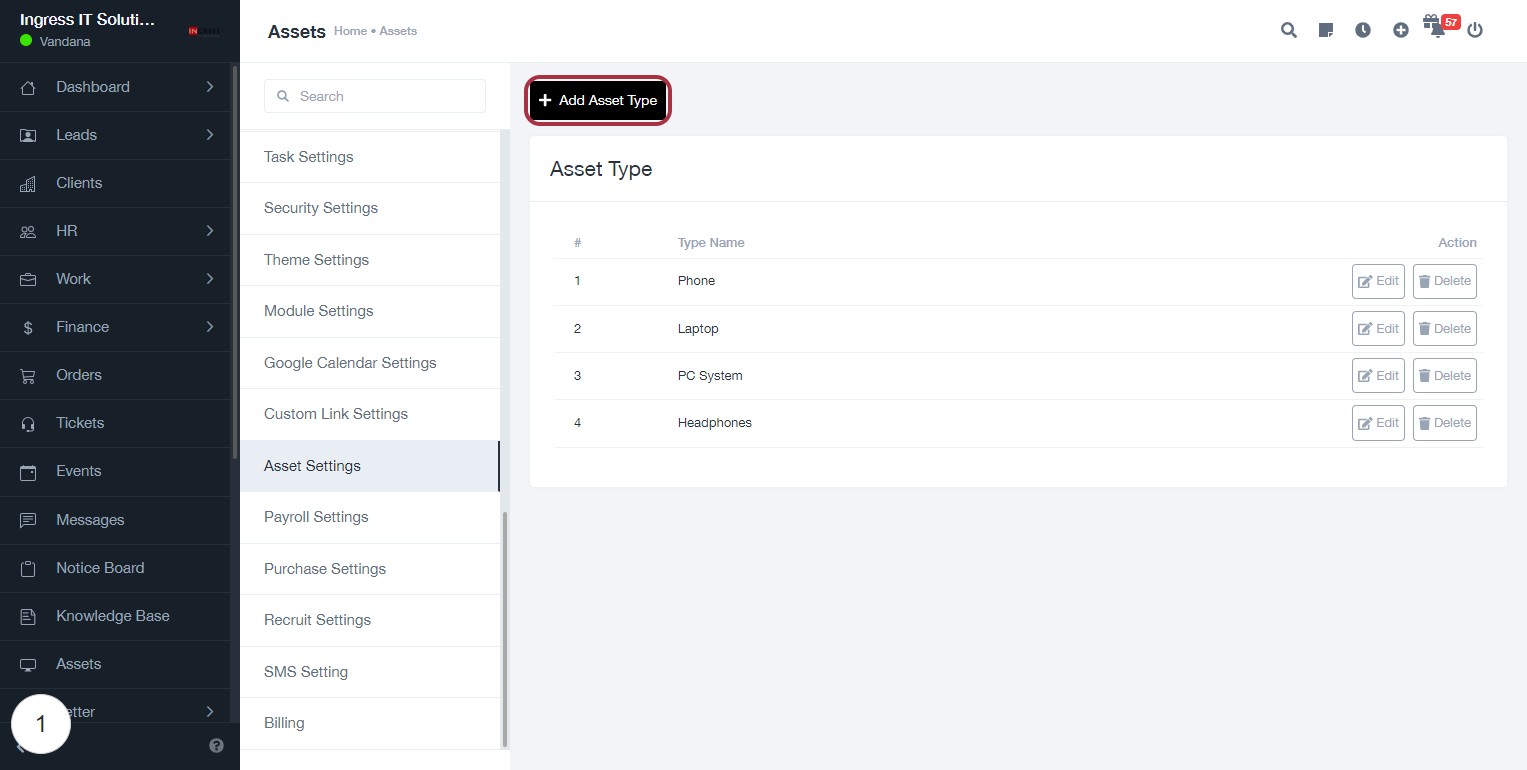
STEP 2: Click on "Add Asset Type"
- Navigate to the Asset Settings page.
- Locate the Add Asset Type button highlighted in red.
- Click on the Add Asset Type button to initiate the process of adding a new asset type.
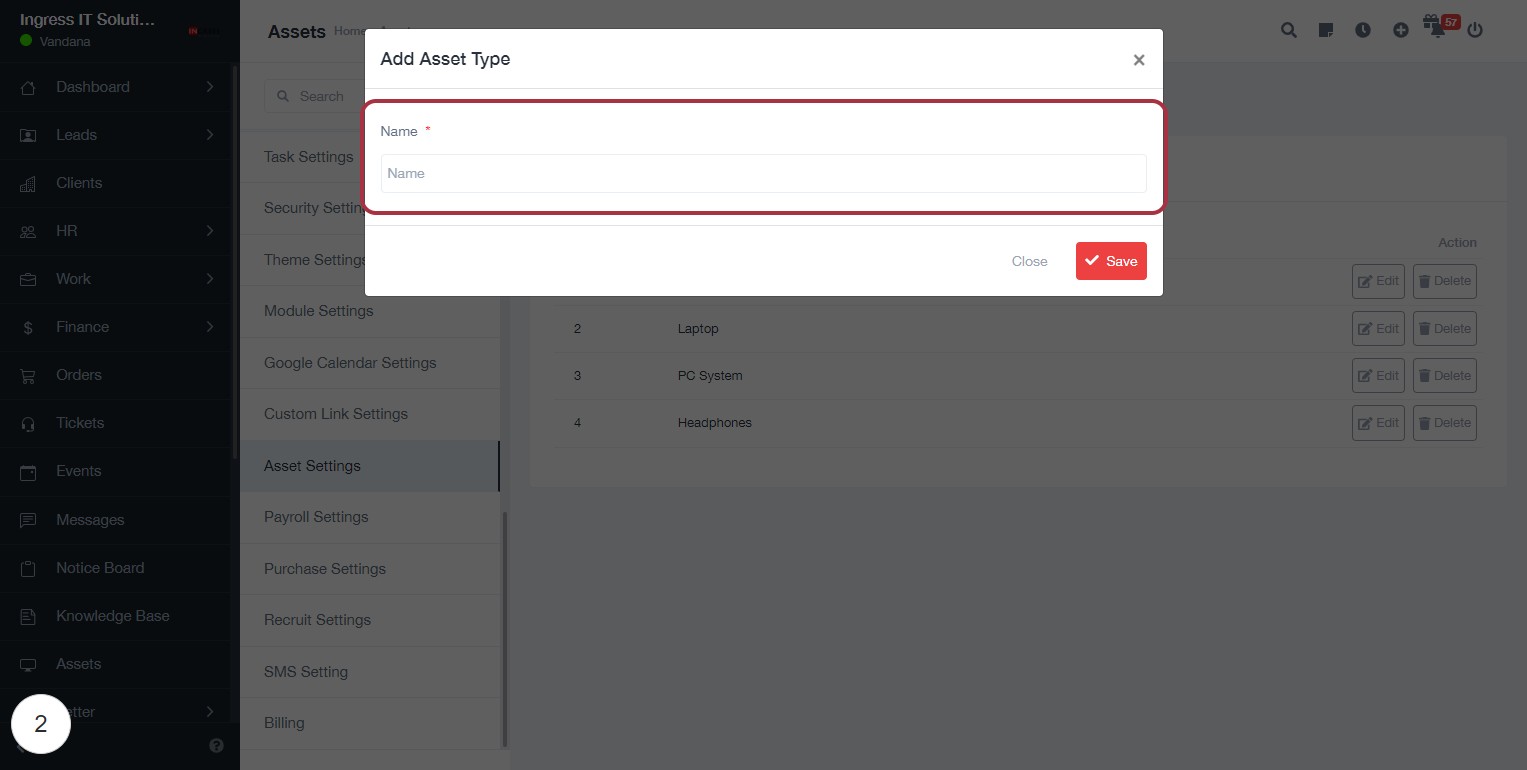
- Ensure to fill in the required fields in the subsequent form, especially those marked with an asterisk (*).
- Proceed to the next step to enter the asset type name.

STEP 3: Enter Asset Type Name
- Click on the highlighted area labeled "Name *" to input the asset type.
- Ensure that the field is filled, as it is marked with an asterisk (*), indicating it is required.
- After entering the asset type name, proceed to the next step by clicking on "Save."

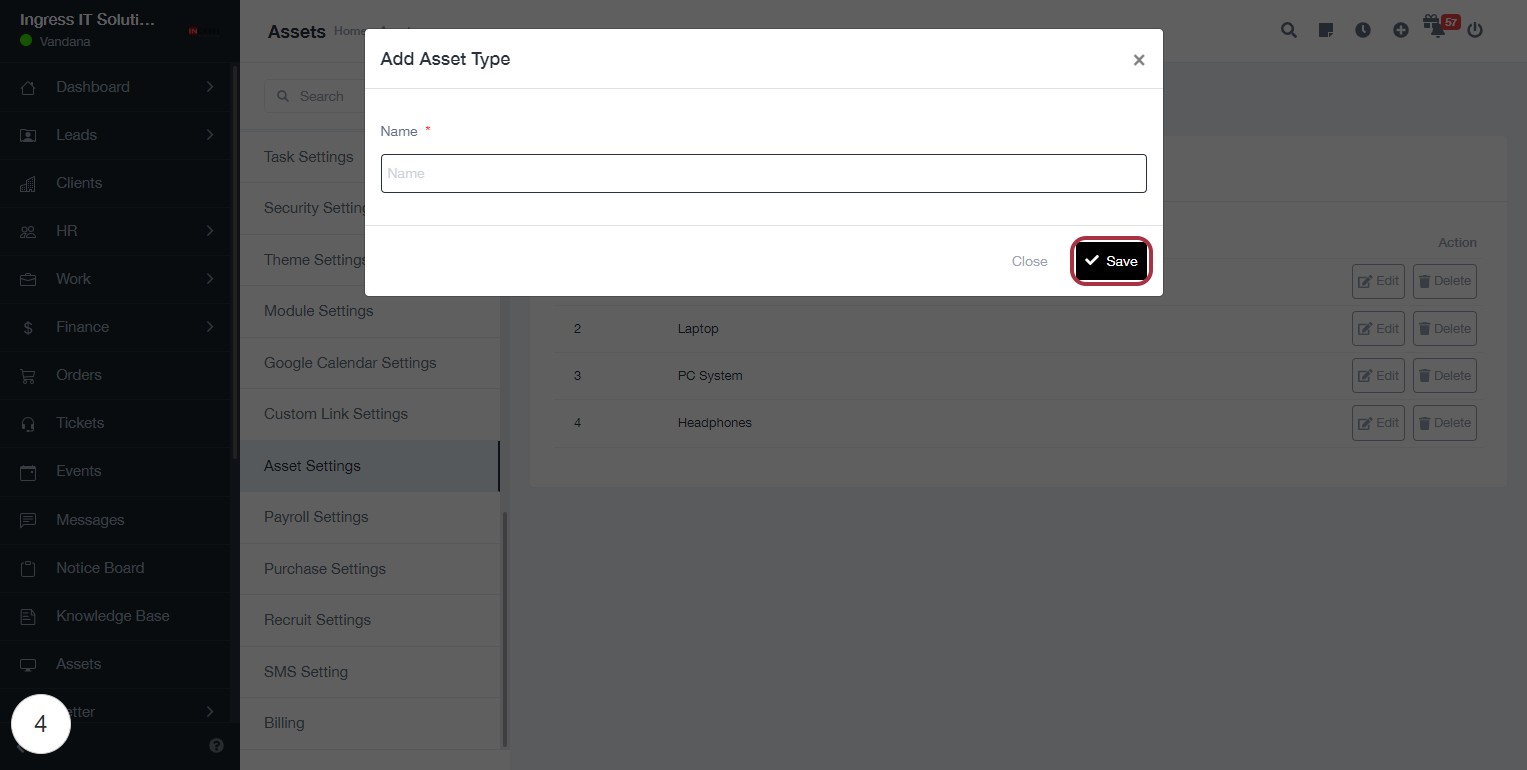
STEP 5: Click on "Save" to Finalize Asset Type Entry
- Ensure the "Name" field is filled out (marked with *).
- Locate the "Save" button at the bottom of the dialog.
- Click on the "Save" button to confirm and save your new asset type.
- If you need to exit without saving, you can click "Close".
