BizCRM App
Step-by-Step Guide to Managing Ticket Settings and Creating New Ticket Groups
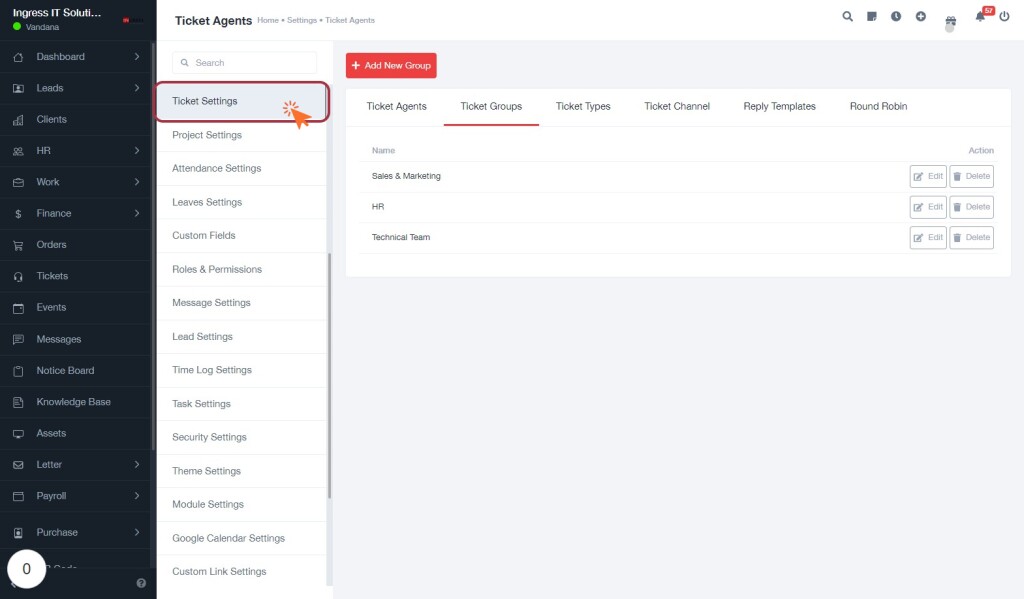
STEP 1: Click on "Ticket Settings" to Access Ticket Agents
- Navigate to the "Ticket Settings" section in the sidebar.
- Click on the "Ticket Settings" link to proceed.
- This will take you to the Ticket Agents page where you can manage ticket-related configurations.
- Ensure you are ready to move to the next step, which involves selecting the "Ticket Groups" tab.
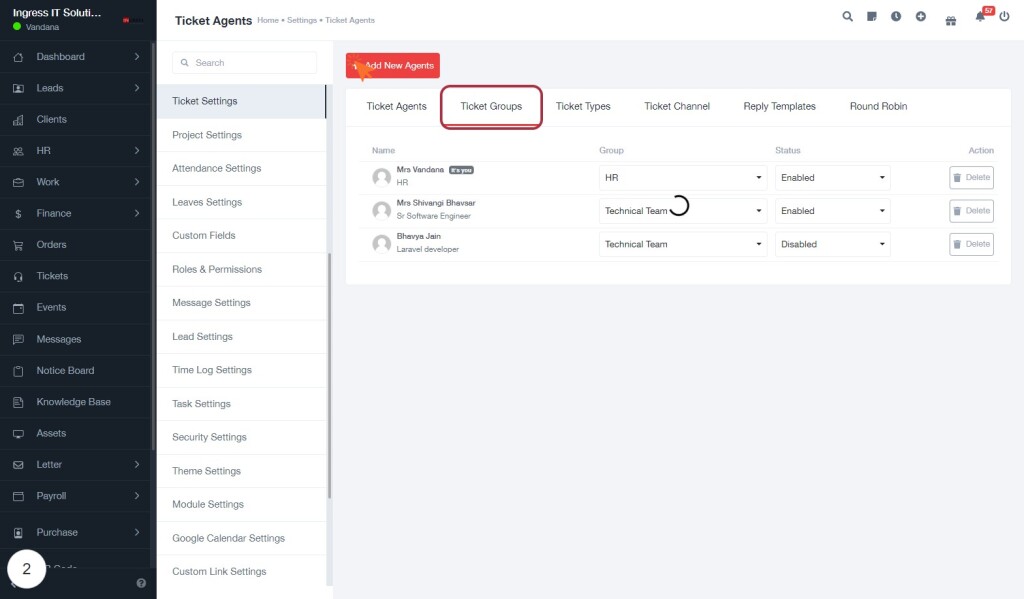
STEP 2: Select Ticket Groups Tab
- Navigate to the Ticket Groups tab within the Ticket Settings section.
- Ensure you are in the correct context to manage ticket groups.
- Review the existing groups listed, including their status (Enabled/Disabled).
- Prepare to add a new group by clicking on the Add New Group button in the next step.
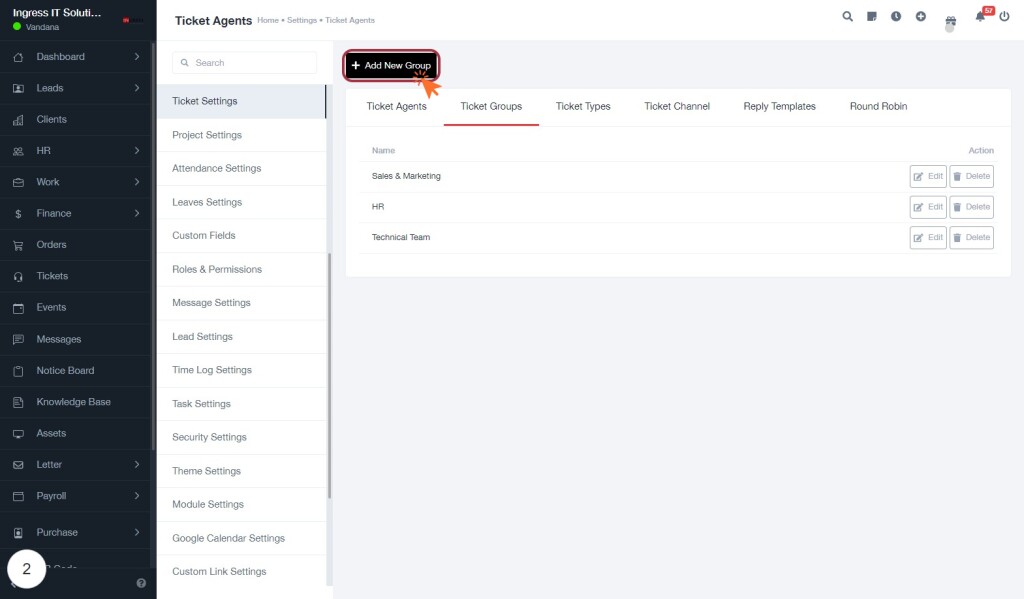
STEP 3: CLICK on "Add New Group"
- Navigate to the Ticket Groups tab.
- Locate the Add New Group button highlighted in the interface.
- Click on the Add New Group button to initiate the process of creating a new ticket group.
- Ensure you have filled out any required fields indicated by an asterisk (*) in the upcoming form.
- Proceed to the next step to Enter "Group Name" after clicking the button.
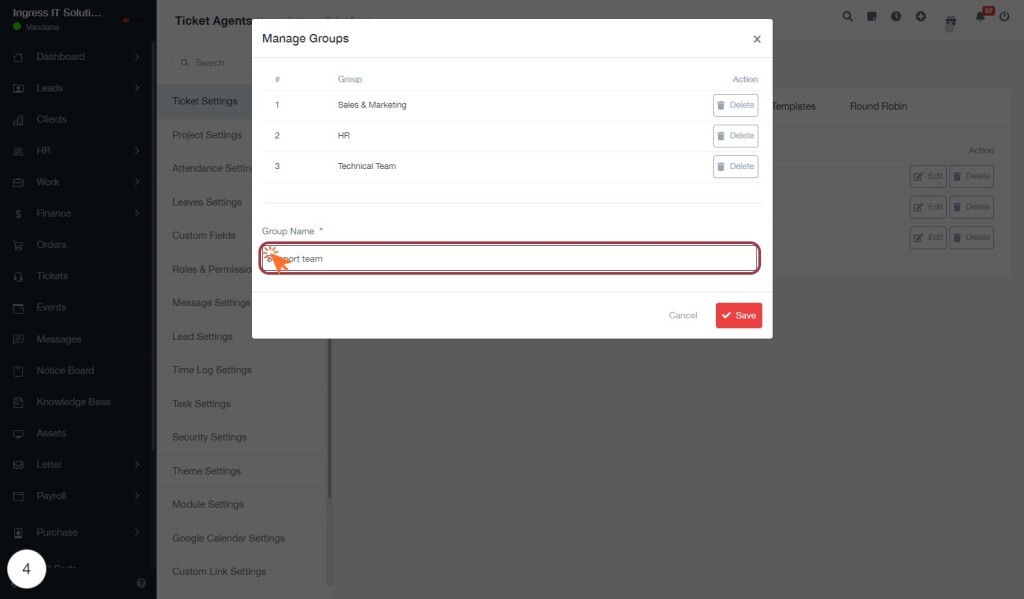
STEP 4: Enter "Group Name"
- In the "Group Name" field, type the desired name for the group (e.g., "Support team").
- Ensure that the field marked with an asterisk (*) is filled, as it is required.
- Review your entry for accuracy before proceeding.
- Once completed, click the "Save" button to finalize the group creation.