BizCRM App
Step-by-Step Guide to Customizing Your Invoice Template in Finance Settings
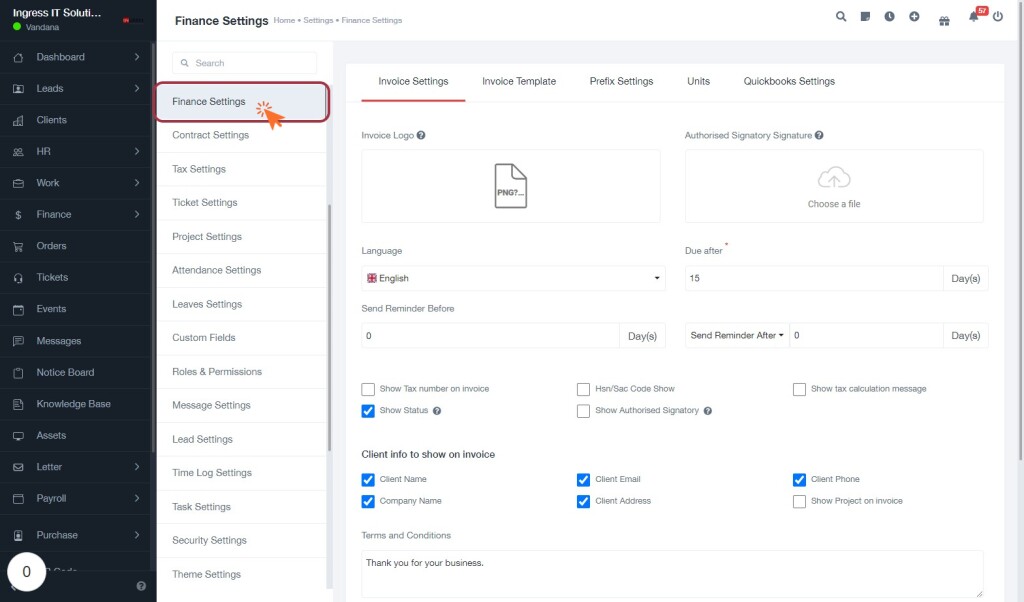
STEP 1: Click on "Finance Settings" to Access Financial Configuration
- Navigate to the Finance Settings section by clicking on the corresponding link in the sidebar.
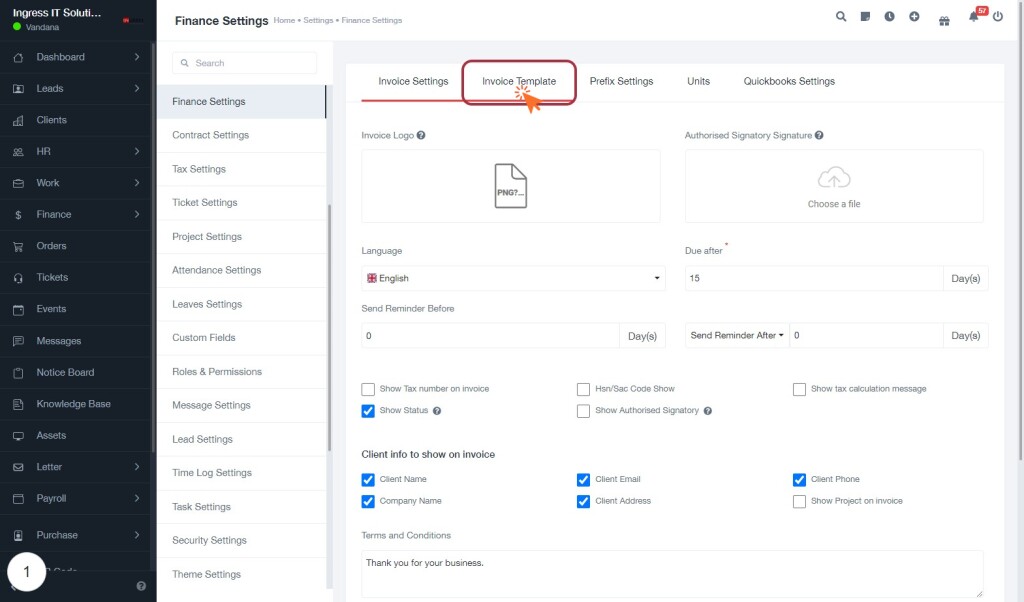
- Proceed to the next step by clicking on the Invoice Template tab.

STEP 2: Click on "Invoice Template" Tab
- Navigate to the Invoice Template tab within the Finance Settings.
- Ensure you have the following inputs ready:
- Invoice Logo: Upload your logo file.
- Language: Select your preferred language (default is English).
- Due After: Specify the due date in days.
- Send Reminder Before: Set the reminder period.
- Client Info: Choose what client details to display on the invoice (e.g., Client Email, Client Address).
- After completing these fields, proceed to select an image for your template in the next step.

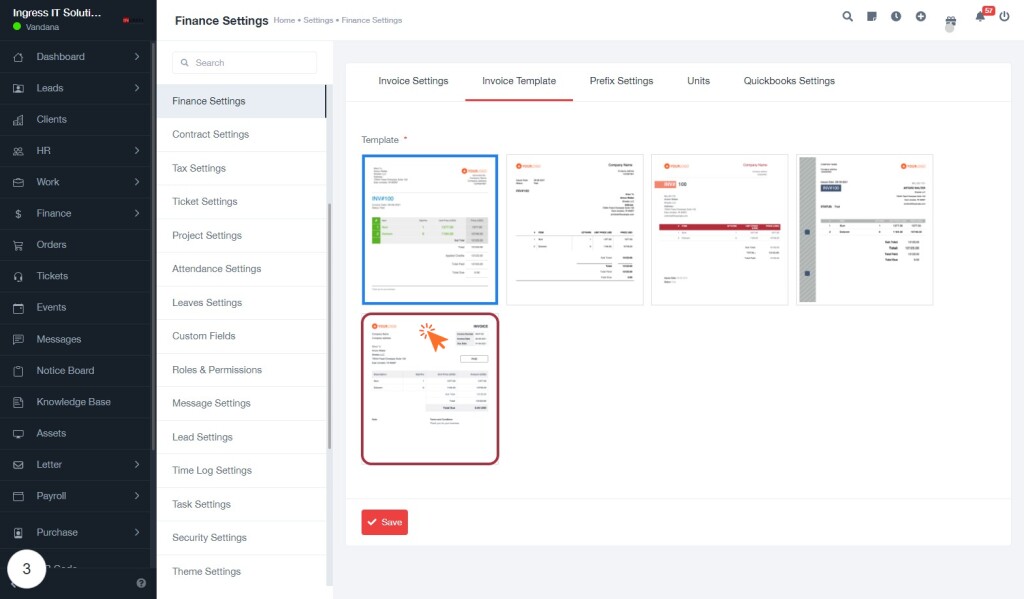
STEP 4: Click on "Image" to Select One of the Templates You Like
- Navigate to the "Invoice Template" section.
- Review the available invoice templates displayed.
- Click on the image of the template you prefer to select it.
- Ensure your choice is highlighted for confirmation before proceeding.
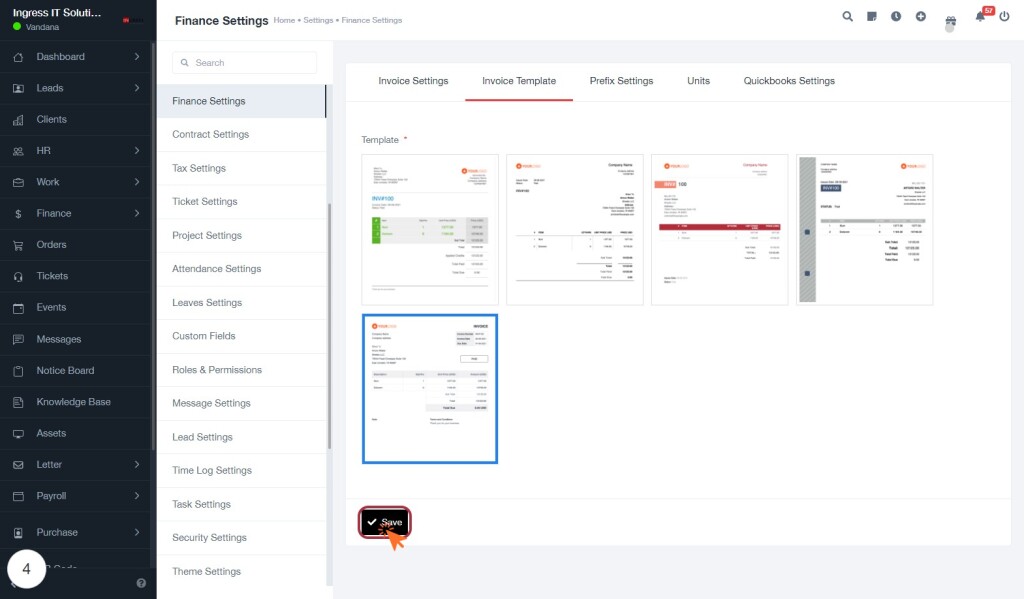
- Next, click on the "Save" button to finalize your selection.

STEP 5: Click on "Save" to Finalize Your Template Selection
- Ensure all required fields are filled out before proceeding.
- Locate the highlighted "Save" button at the bottom of the template selection area.
- Click on the "Save" button to confirm your template choice.
- Review any confirmation messages that may appear after saving.
- If needed, revisit previous steps to make adjustments before saving.
