BizCRM App
Step-by-Step Guide to Adding and Setting Default Business Address on BizCRMApp.com
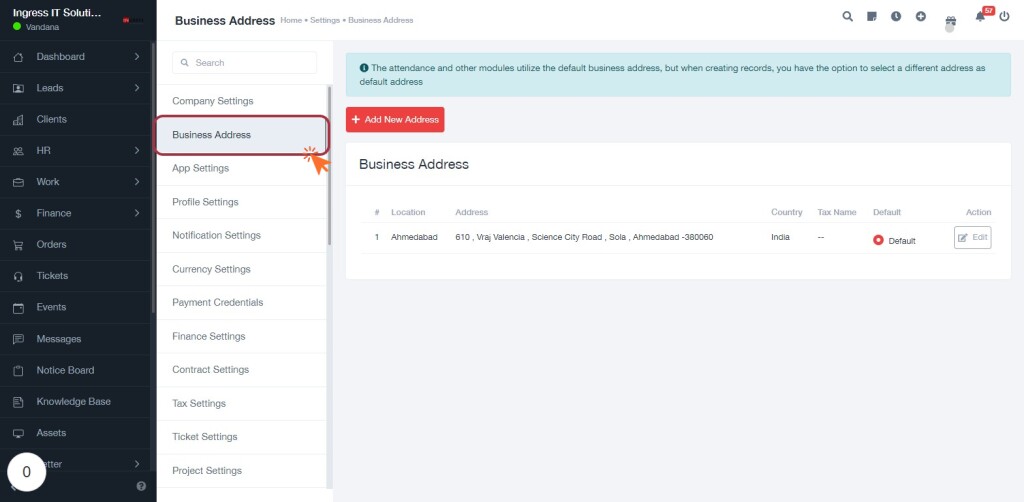
STEP 1: Click on "Business Address"
- Navigate to bizcrmapp.com.
- Click on the Business Address link in the sidebar.
- Review the displayed information about your business addresses.
- Note the highlighted area for further actions.
- Prepare to Click on "Add New Address" for adding a new business address.
STEP 2: Click on "Add New Address"
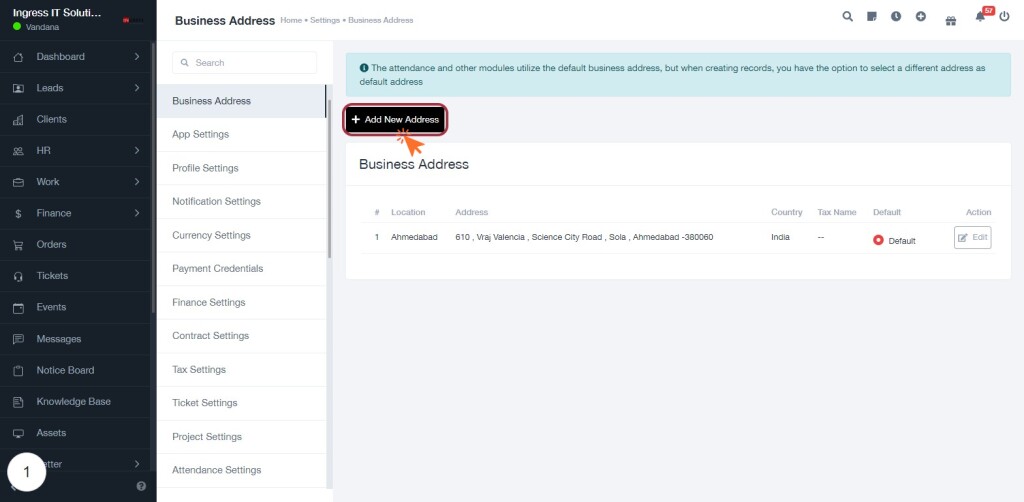
- Navigate to the Business Address section.
- Click on the Add New Address button highlighted in the interface.
- This action will allow you to proceed to fill in the details for a new address.
- Ensure you have the necessary information ready for the next step, including address, location, and any optional fields marked with an asterisk (*).
STEP 7: Fill in the Tax Name for the New Address
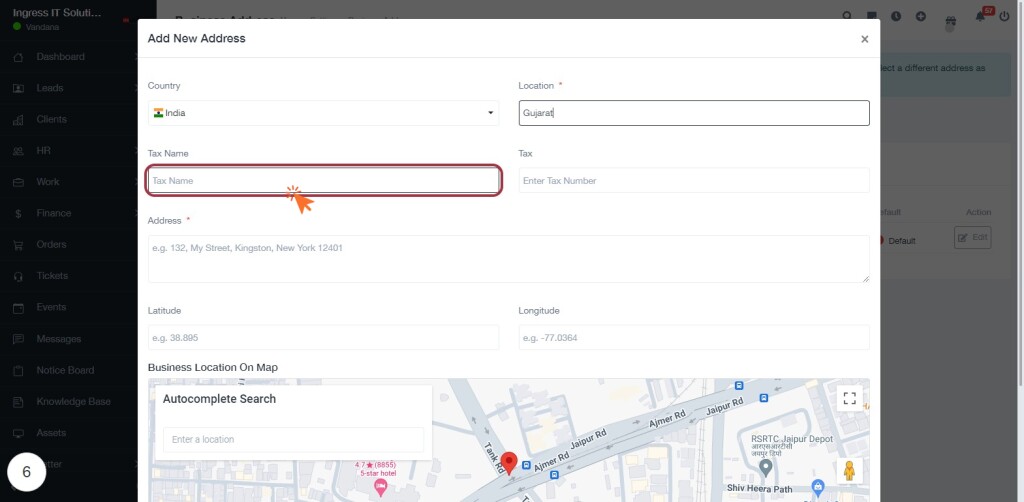
- Locate the "Tax Name" field: This is where you will enter the tax name associated with the new address.
- Ensure required fields are filled: Check for any fields marked with an asterisk (*) to confirm they are completed.
- Double-check the information: Verify that the entered tax name is accurate before proceeding.
- Next action: After filling in the tax name, you will use the AutoComplete Search feature to find your business location.
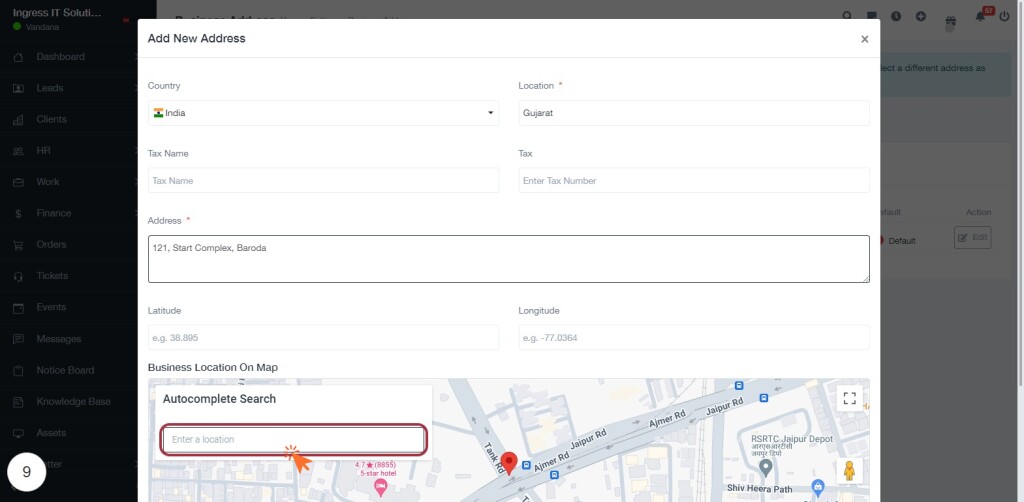
STEP 10: Click to Use AutoComplete Search for Your Business Location
- Locate the Autocomplete Search field highlighted in red.
- Click on the input box labeled Enter a location.
- Start typing your business location to utilize the autocomplete feature.
- Review the suggested locations that appear and select the appropriate one.
- Ensure all required fields are filled out before proceeding to the next step.
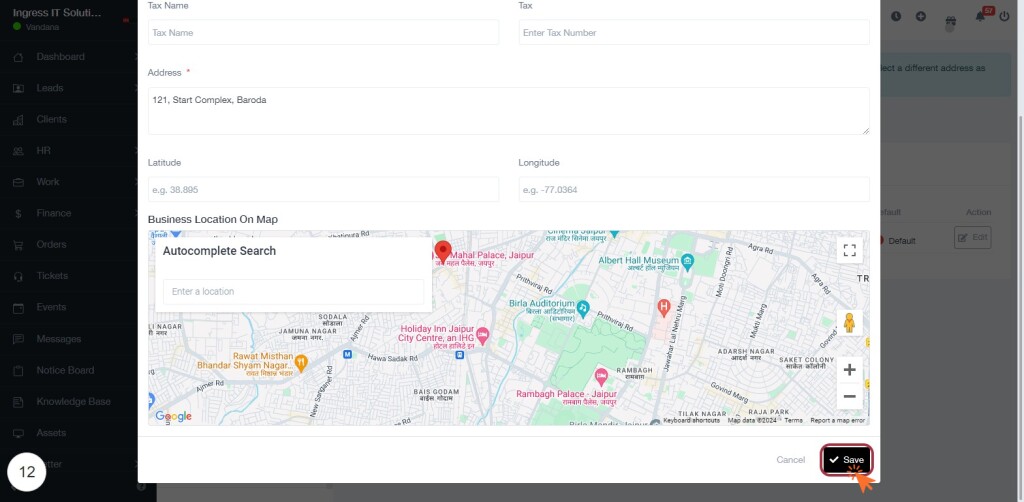
STEP 13: Click on "Save" to Finalize Your Business Location
- Ensure all required fields (marked with *) are filled out, including Tax Name, Address, Latitude, and Longitude.
- Verify the Business Location on the map is correctly set using the Autocomplete Search.
- Click the "Save" button located at the bottom right of the form to save your entries.
- After saving, proceed to the next step by clicking on "Default" for further actions.
STEP 14: Click on "Default" to Set Your Business Address
- Locate the "Business Address" section on the screen.
- Identify the address you wish to set as the default.
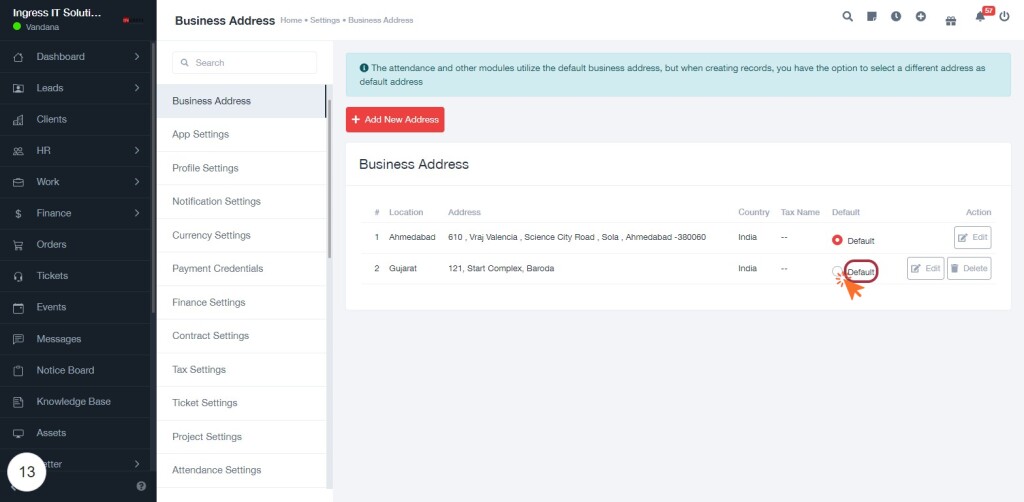
- Click on the "Default" label next to the desired address.
- Confirm that the selected address is now marked as the default for future records.
- Ensure that the highlighted area reflects your selection.
