BizCRM App
User Guide to Managing Personal and Emergency Contact Information on bizcrmapp.com
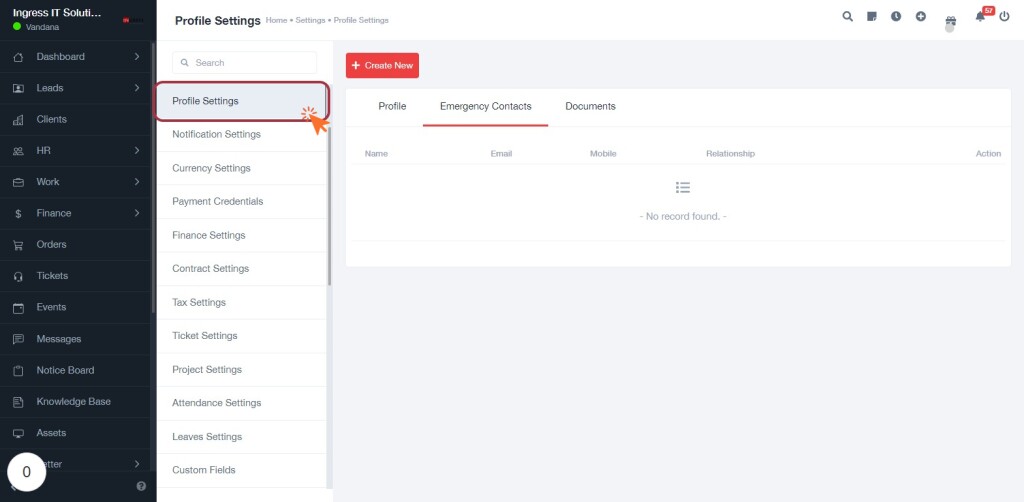
STEP 1: Click on "Profile Settings" to Access Your Profile
- Navigate to bizcrmapp.com.
- Click on Profile Settings in the sidebar menu.
- The main area displays tabs: Profile, Emergency Contacts, and Documents.
- Ensure you are on the Profile tab to view your details.
- Next, you will select the Emergency Contacts tab for further actions.
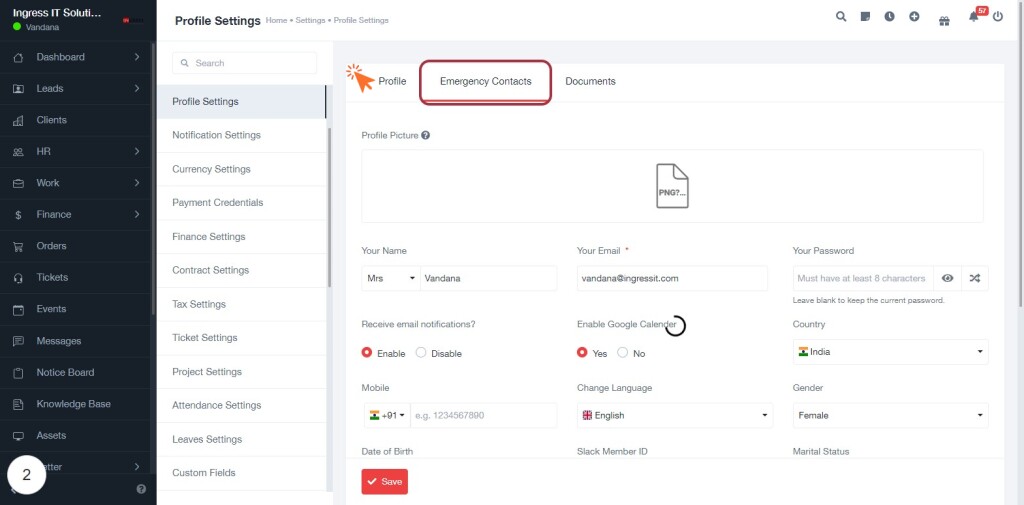
STEP 2: Select "Emergency Contacts" Tab
- Click on the "Emergency Contacts" tab to access the relevant settings.
- Ensure all required fields marked with an asterisk (*) are filled out:
- Your Name
- Your Email
- Your Password
- Optionally, enable Google Calendar notifications.
- Review and select your country, language, gender, and marital status.
- After completing the form, proceed by clicking "Create new" to save your changes.
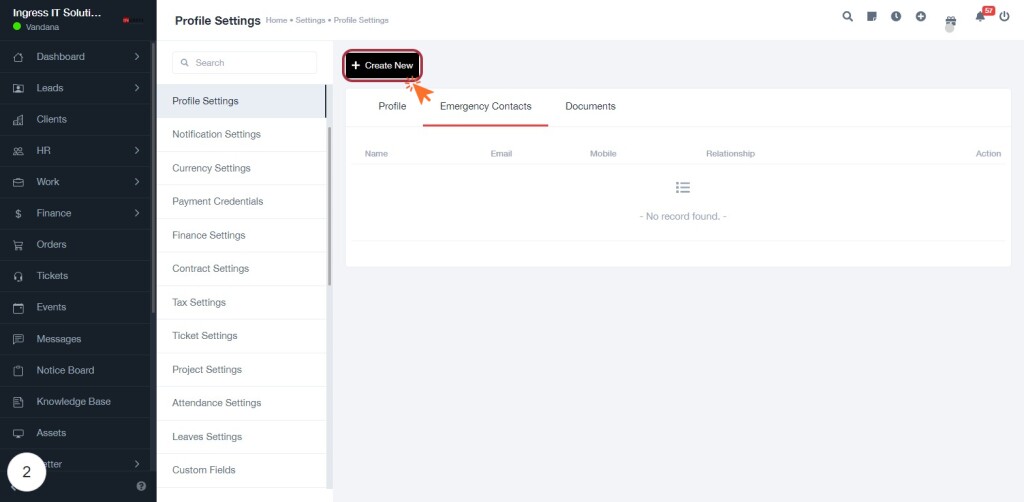
STEP 3: Click on "Create New" to Add Emergency Contact
- Navigate to the "Emergency Contacts" tab.
- Click on the Create New link to initiate adding a new emergency contact.
- Ensure you are in the correct section to proceed with filling out the new contact form.
- After clicking, you will be directed to a form where you can enter details for the new emergency contact.
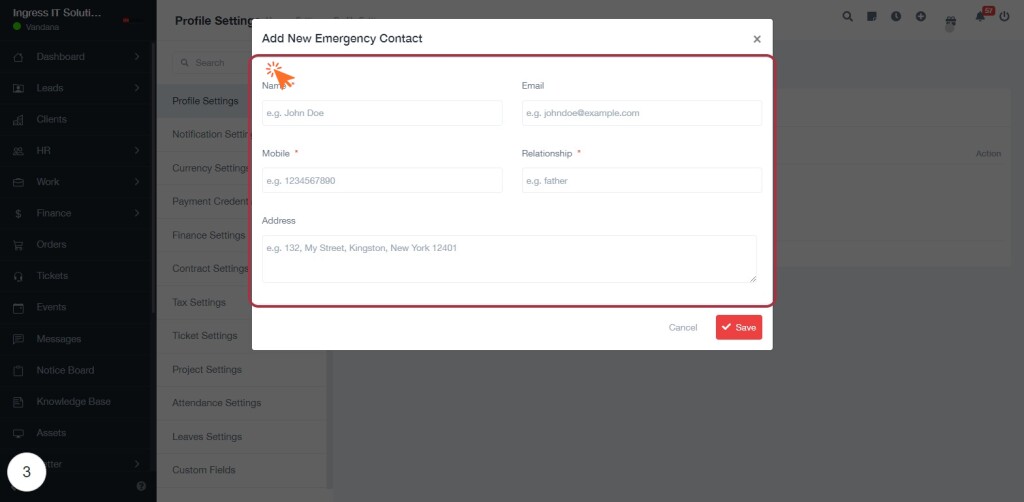
STEP 4: Fill the New Emergency Contact Form
- Enter the Name: Provide the name of the emergency contact. This field is mandatory.
- Enter the Email: Input the email address for the contact (optional).
- Enter the Mobile Number: Fill in the mobile number (mandatory).
- Select the Relationship: Choose the relationship to the emergency contact (mandatory).
- Enter the Address: Provide the address of the contact (optional).
Once all required fields are filled, proceed to click on "Save" to complete the process.
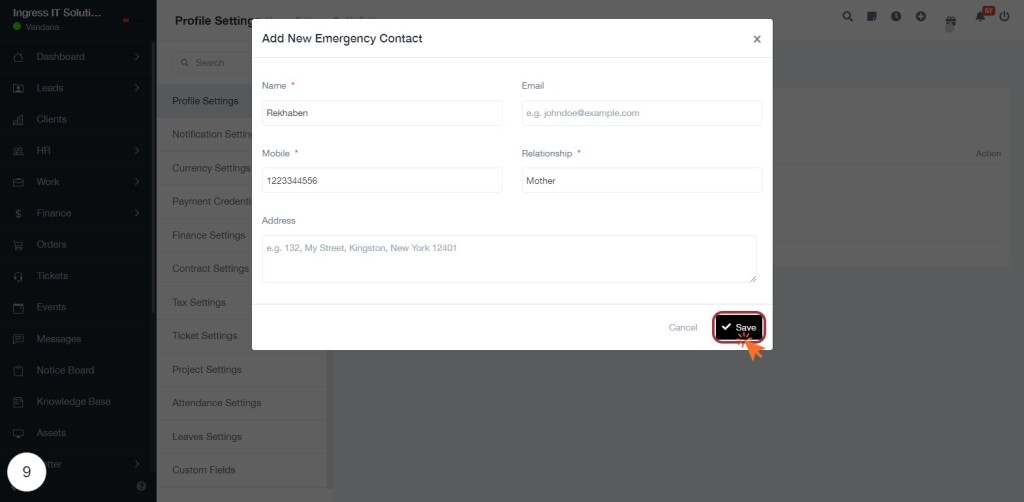
STEP 10: Click on "Save" to Finalize Emergency Contact
- Ensure all required fields (marked with '*') are filled: Name, Mobile, Relationship.
- Review the entered information for accuracy.
- Click the "Save" button located at the bottom right of the form to save the new emergency contact details.
- A confirmation message may appear indicating that the contact has been successfully added.
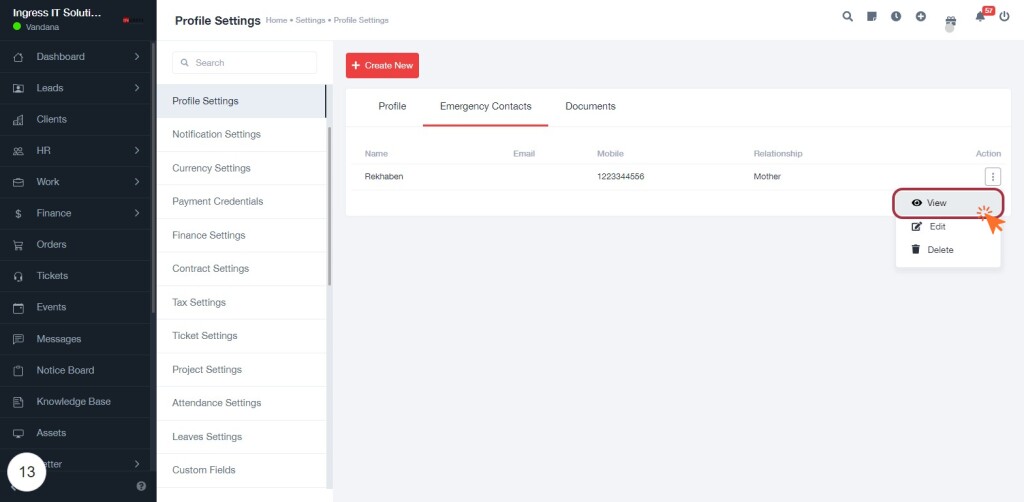
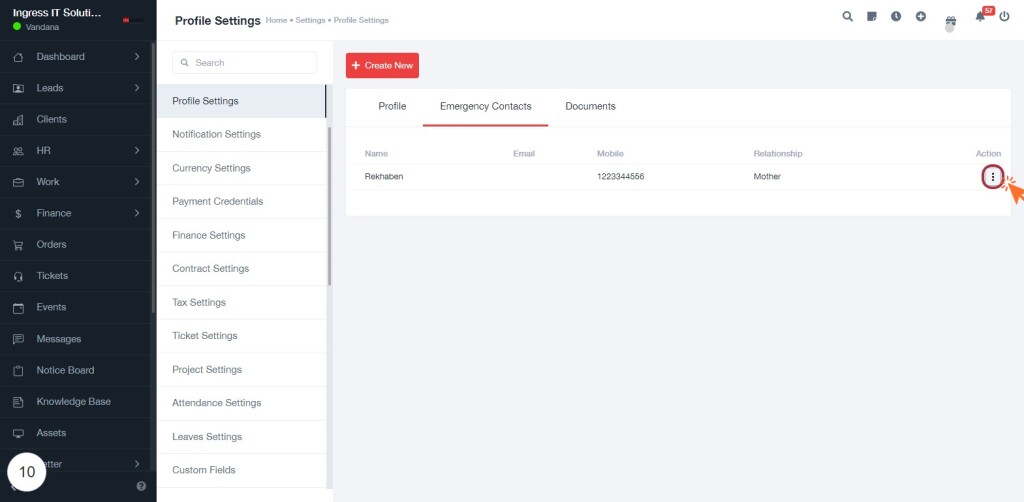
STEP 11: Click on the Info Icon for Emergency Contact Details
- Locate the highlighted info icon in the "Action" column of the Emergency Contacts table.
- Click on the icon to view more details about the selected emergency contact.
- Ensure you have finalized the previous step by saving any changes before proceeding.
- Review the information displayed in the pop-up or new section that appears after clicking the icon.
STEP 14: Click on "View" to Access Emergency Contact Details
- Locate the "View" option in the Action column of the Emergency Contacts table.
- Click on "View" to display detailed information about the selected emergency contact.
- Ensure you have the correct contact highlighted to retrieve the desired details.
- Review the information presented in the pop-up or new section that appears after clicking.