BizCRM App
Comprehensive Guide on Configuring Attendance and Scheduling Settings in Your System
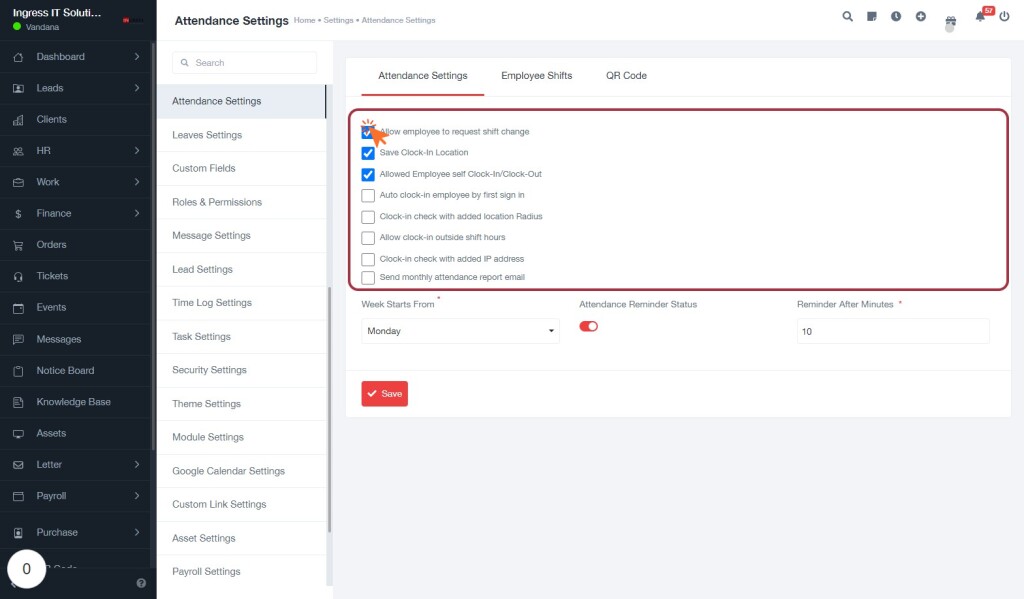
STEP 1: Select "Allow employee to request shift change" in Attendance Settings
- Navigate to the Attendance Settings section on the left sidebar.
- Locate the Allow employee to request shift change option within the card layout.
- Click the checkbox next to this option to enable it, allowing employees to submit shift change requests.
- Additional options nearby include Save Clock-In Location and Allowed Employee self Clock-In/Clock-Out; consider reviewing these settings for enhanced attendance management.
- Ensure to save any changes made to apply the new settings effectively.
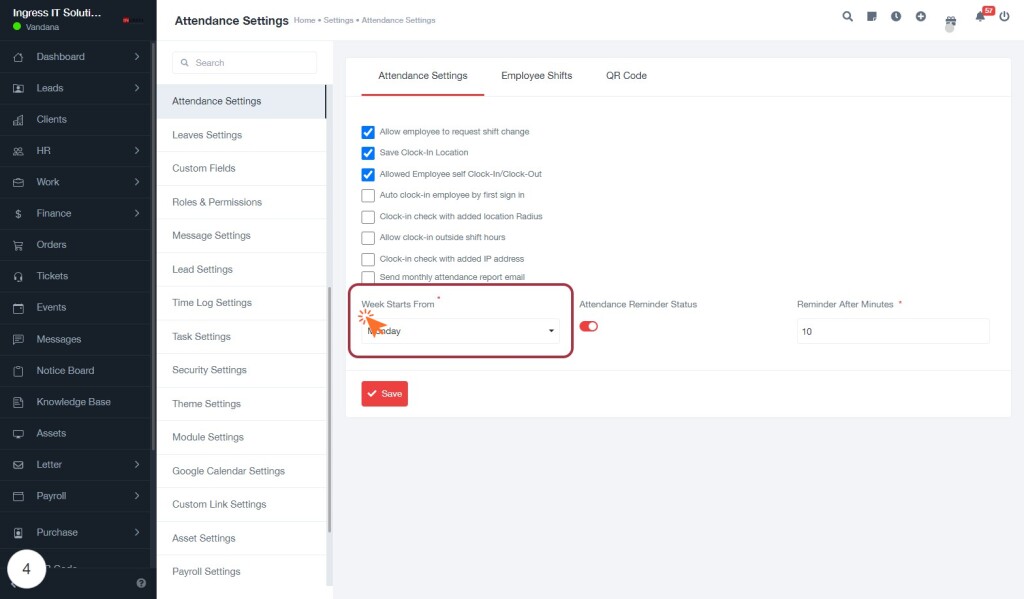
STEP 5: Select "Week Starts From" Option
- Click on the "Week Starts From" dropdown menu highlighted in the form.
- A list of days will appear; choose your preferred starting day for the week (e.g., Monday, Tuesday).
- Ensure that the selected day aligns with your scheduling needs.
- After making your selection, review any additional settings in the form related to attendance or scheduling.
- Once satisfied, click the "Save" button to apply your changes.
This will help configure your system to better suit your operational requirements.
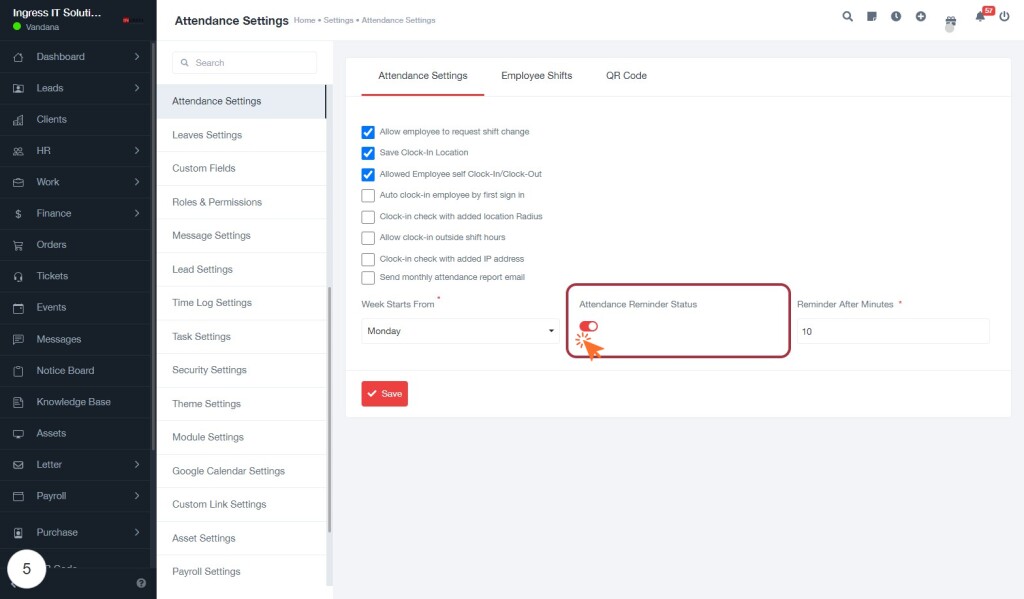
STEP 6: Toggle Attendance Reminder Status
- Click on the "Attendance Reminder Status" toggle switch to enable or disable reminders for attendance.
- When enabled, this feature will send notifications to employees regarding their attendance.
- Ensure that the toggle is set to the desired position (on or off) based on your preferences.
- Adjacent to this toggle, you can specify the "Reminder After" duration, which determines how many minutes before the attendance time the reminder will be sent.
- After making your selections, remember to click the "Save" button to apply the changes.
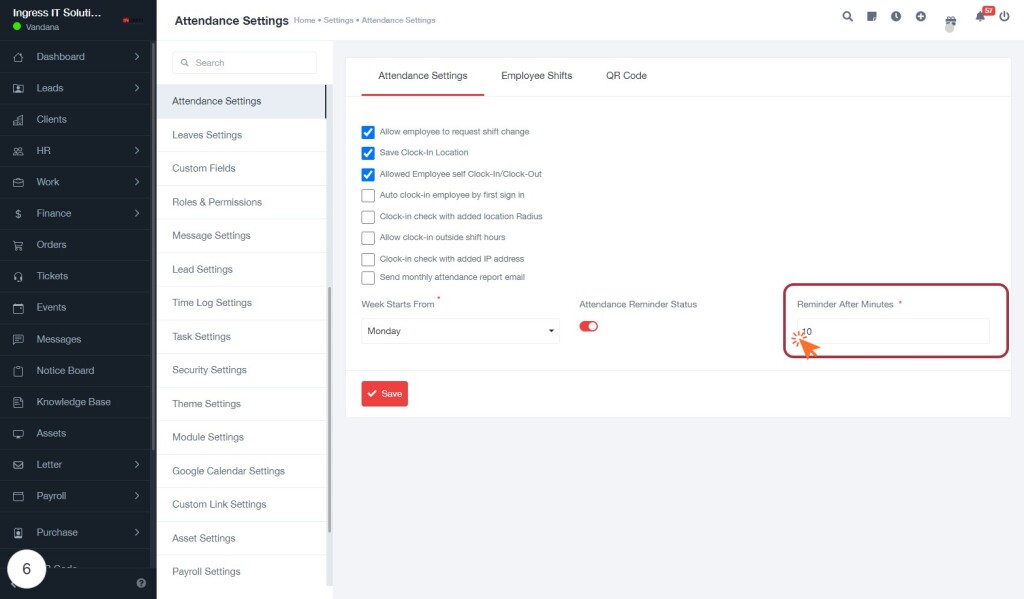
STEP 7: Select Reminder Duration in Minutes
- Click on the "Reminder After Minutes" field to activate it.
- Enter the desired number of minutes for the reminder. This value determines how long before an event you want to be notified.
- Ensure the input is a positive integer, as this will be the delay for the reminder notification.
- Review other nearby settings, such as "Attendance Reminder Status," to ensure they align with your preferences.
- After entering the value, proceed to save or submit your changes to apply the reminder setting.
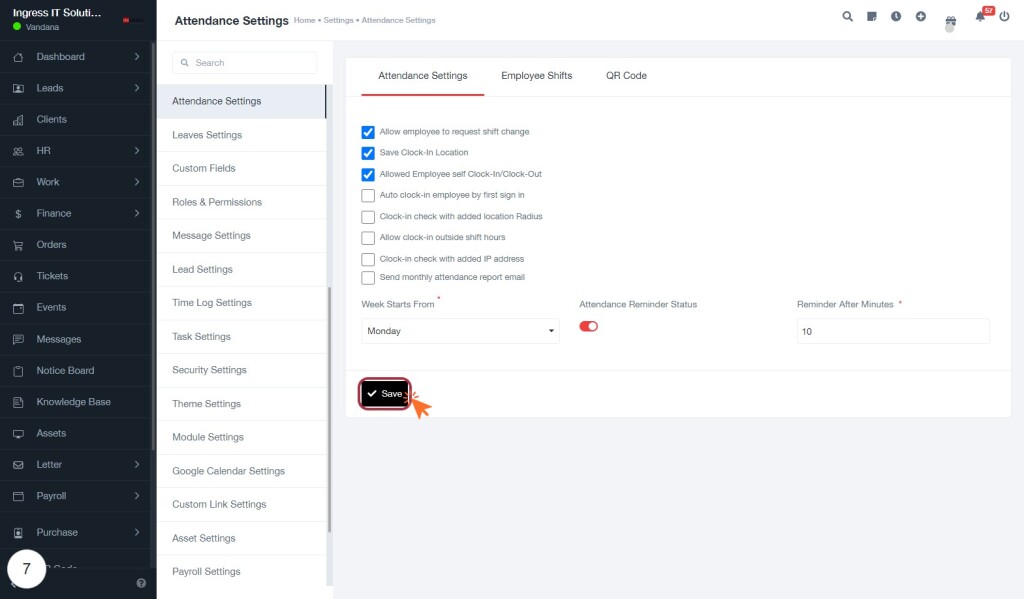
STEP 8: Click "Save" to Confirm Your Settings
- Locate the "Save" button at the bottom of the settings form.
- Ensure all your desired changes are correctly filled in the input fields above.
- Click the "Save" button to confirm and apply your settings.
- After clicking, a confirmation message may appear, indicating that your changes have been successfully saved.
- If you need to make further adjustments, you can return to the relevant sections of the form and repeat the process.
This step is crucial for ensuring that all your preferences are recorded accurately.
